Damned Heavy Weapons, Artillery, Mauler & Other Build Notes
-
Heavy Weapons Build Guide
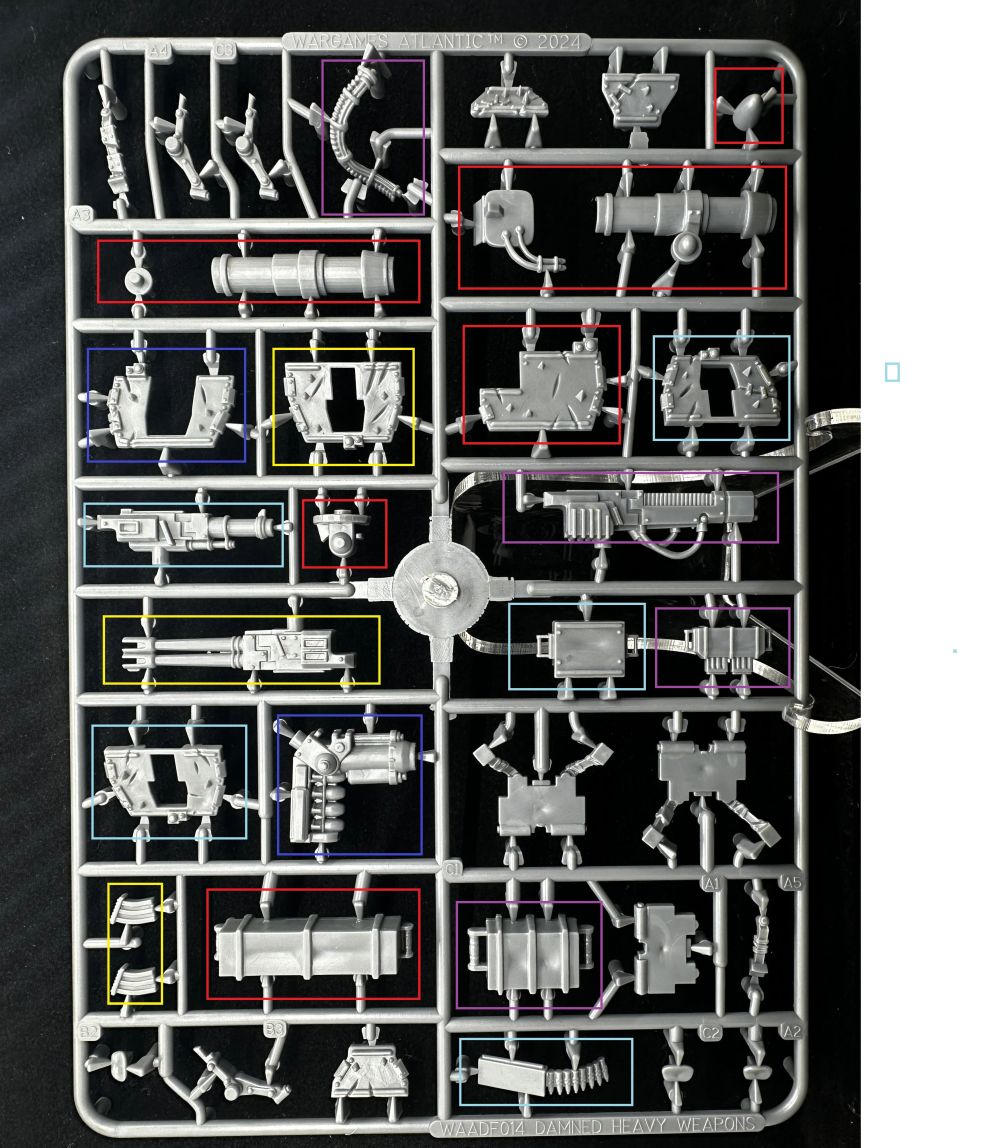
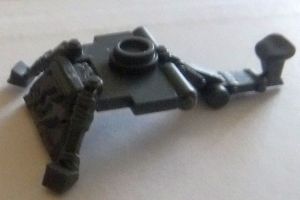
Tripods (A1-5, B1-3, C1-3)
I found the pegs on the base plate for the lower armour plate need shaving down to fit well in the socket.
Fit the lower armour plate for tripod A prior to fitting the front legs for tripod A as it makes getting their angle right easier
Weapons
Mortar (Blue)
The seated crewman won't fit if you face the mortar straight ahead
Missile (Red)
the peg on the central swivel may need shaving down to fit the socked on the shield
next fit the computer screen, line up the cables with the pegs on the back of the gun shield (if you fit the launcher first at too high an angle the screen wont fit)
fit the nose cone and end cap then dry fit the other side of the tube to make sure you get good contact all the way along before glueing, you might need to shave the sides of the end cap and nose cone
leave the end cap and nose cone out for a just fired look
comes with a spare missile crate for base decoration
Dual Autocanon (yellow)
the magazines fit on the left of the gun, there is an arm holding one on the crew sprue so you could leave one off for a mid-reload look
Heavy Machine Gun (Cyan)
build 2 part ammo belt box
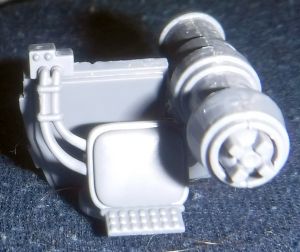
Energy Weapon (purple)
To get the gun to fit through the shield I cut one side of the narrow bar at the bottom of the shield with a sharp blade, bent it out of the way to get the gun through the slot, then glued bar back in place
I trimmed the peg on the cable and socket on the powerpack to get a good fit for gluing
Trim off the peg on the other end of the cable to give a flat surface you can glue to the side of the gun
Comes with spare power pack crate
-
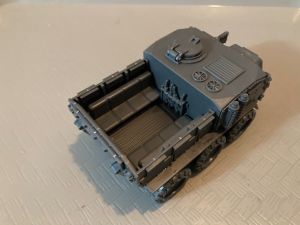
Artillery Guns Build Guide
Gun Carriage (Yellow)
The wheels have bolts on the outside of the hubs (if you have the smooth side outside the gun shield won't fit)
Build the central section, wheels, elevation mechanism and seat as shown, and add one side piece the gun will slot into

Build the outriggers, with the shoe flat on the ground the bar should point up (you can use the carriage to set the angle if you need to)
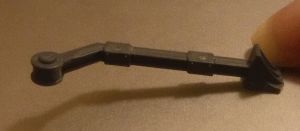
you can now fit the outriggers to the carriage, remember to make sure any figure standing beside the gun will fit, and whether the gun will fit on any base you plan to use
(Edit: looking at the original images from the gamefound campaign i've got the shoes switched round, as the rings are intended to face towards the center of the carriage rather than away from it)
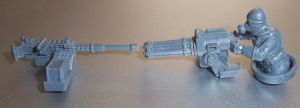
Big Gun (Blue)
Glue the two sides of the gun together then add the breech piece, make sure the notch is lined up to the left (or right if you want the gun to open that way). You can fit the breech cap open or closed (trim the hinge to fit)
Quad Canon (Red)
Note the 4 barrel ends are slightly different lengths, make sure you've got the right one before adding glue. Fit them onto the appropriate canon halves
add the cog of the elevation mechanism to the right hand side
Glue the canon sides together
Finishing
The peg on the front of the carriage will need trimming/sanding to fit the slot on the gun shield (for some reason the slot on the non-spiky shields are smaller so you need to trim the peg more), don't glue on yet
Fit your gun of choice onto the carriage, and glue the remaining side piece onto the carriage to lock it in place, the cog should hold it at the angle you set it at but you could add glue to make it more secure

finish off by gluing on the gun shield (or leave it off for a different look)
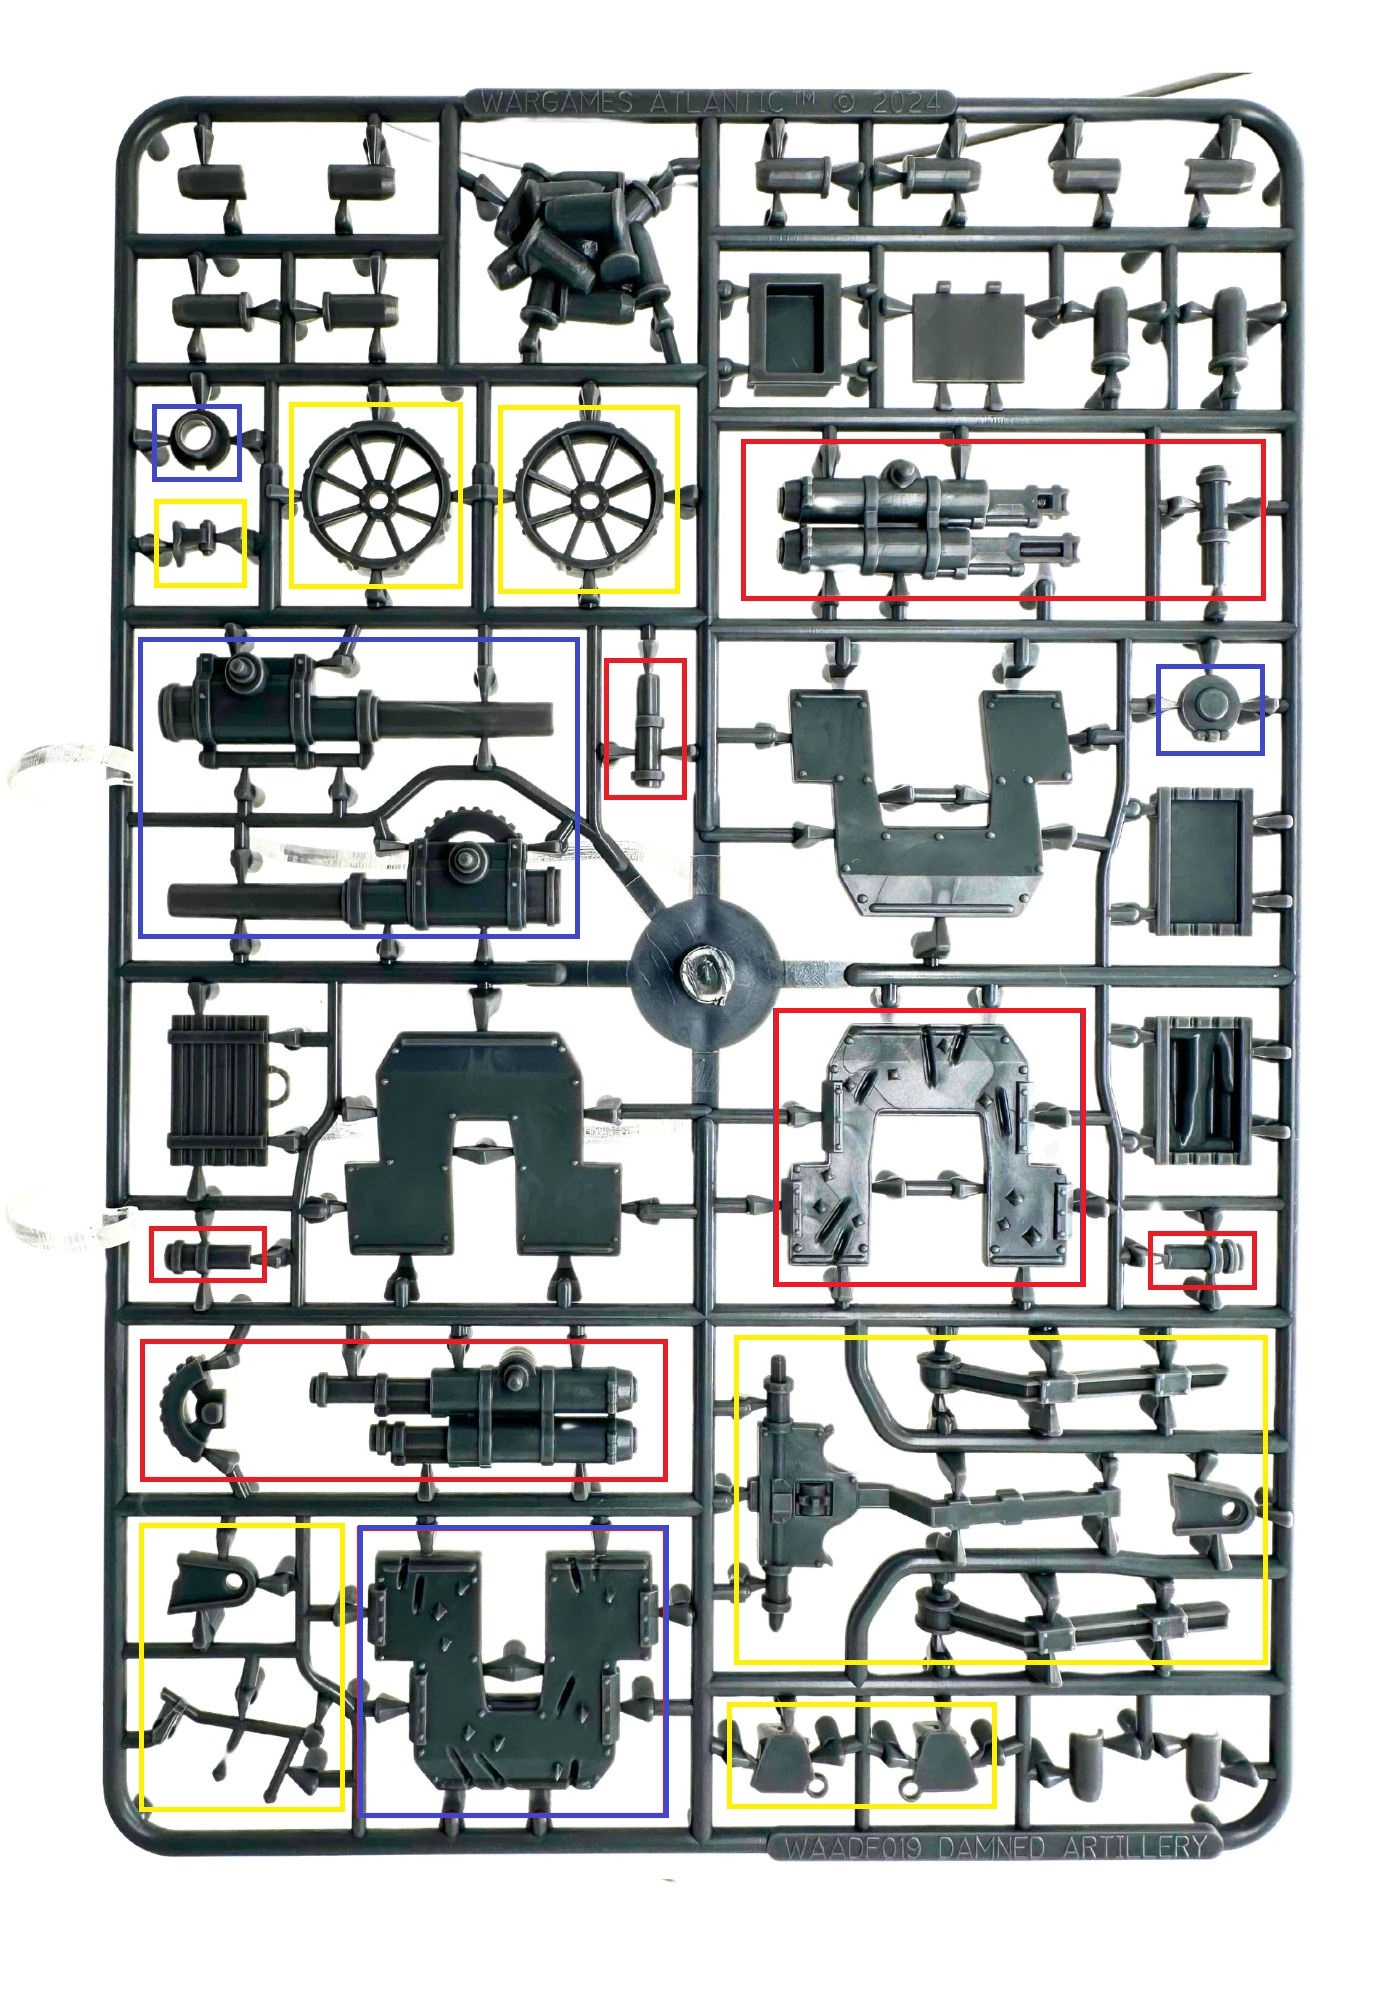
Note that there are a pair of arms holding cranks to adjust the elevation of the gun on the crew sprue designed to be used by a crewman sitting on the seat at the back of the carriage
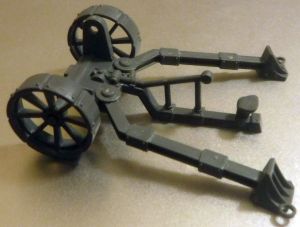
The sprue also contains a tool box, an ammunition for the big gun and quad cannon (they share a single lid), a pile of big gun shells, and several individual big gun shells
General Tips
If you find the really small gasmask filters hard to handle & clean up off the sprue, leave them on the sprue and glue the head onto them, then cut them off next day when the glue has had time to fully cure
-
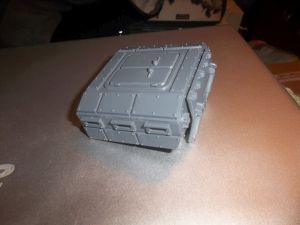
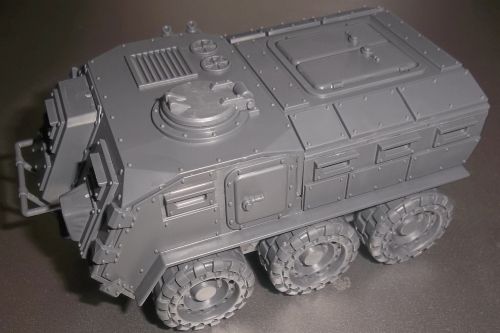
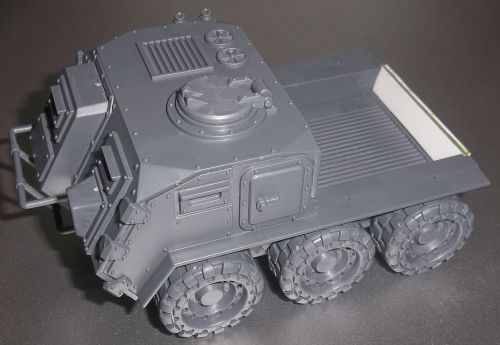
Mauler Build Guide
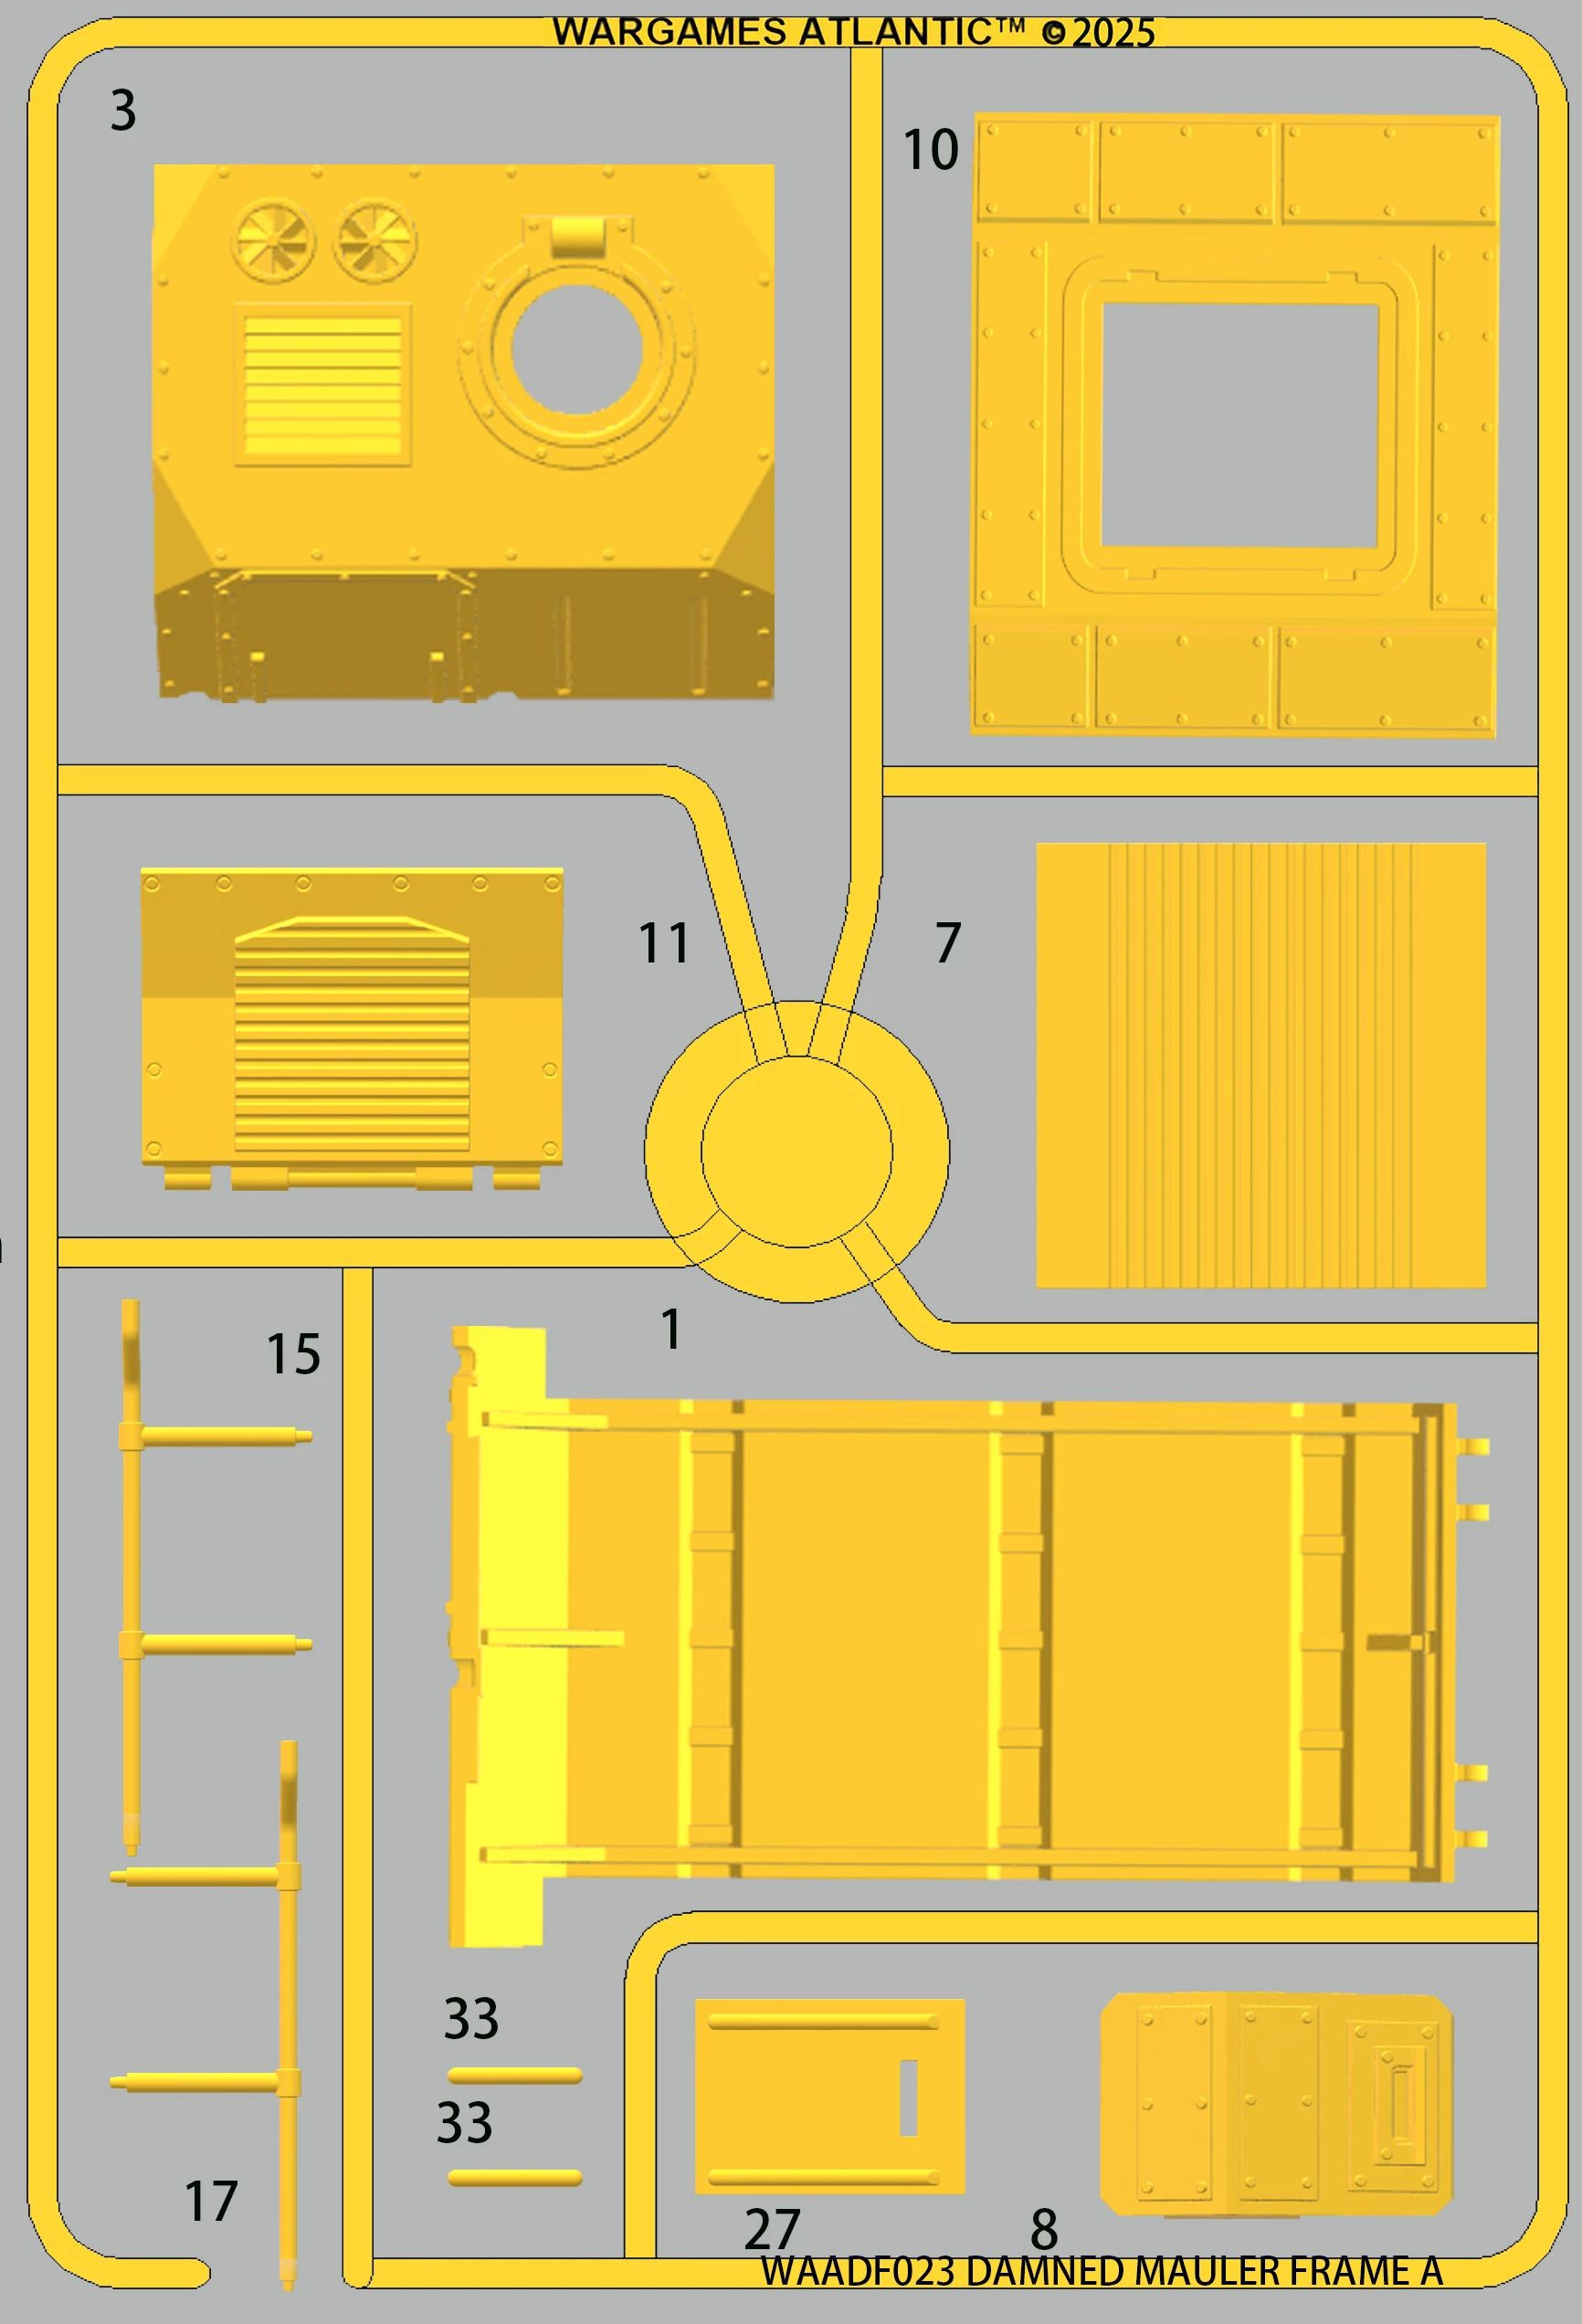

(note i've switched out the sprue C image as there were some changes between the yellow prototype initially shown and production)
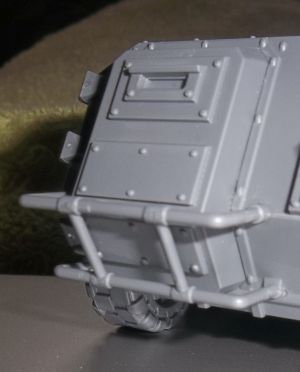
There are several options for this model so i'll break this guide up into sections, the Closed Cab and the Weapon Platform can be built with no modifications, but with some simple conversion you can also build a Pickup or a Three Way Swappable option
Common Chassis
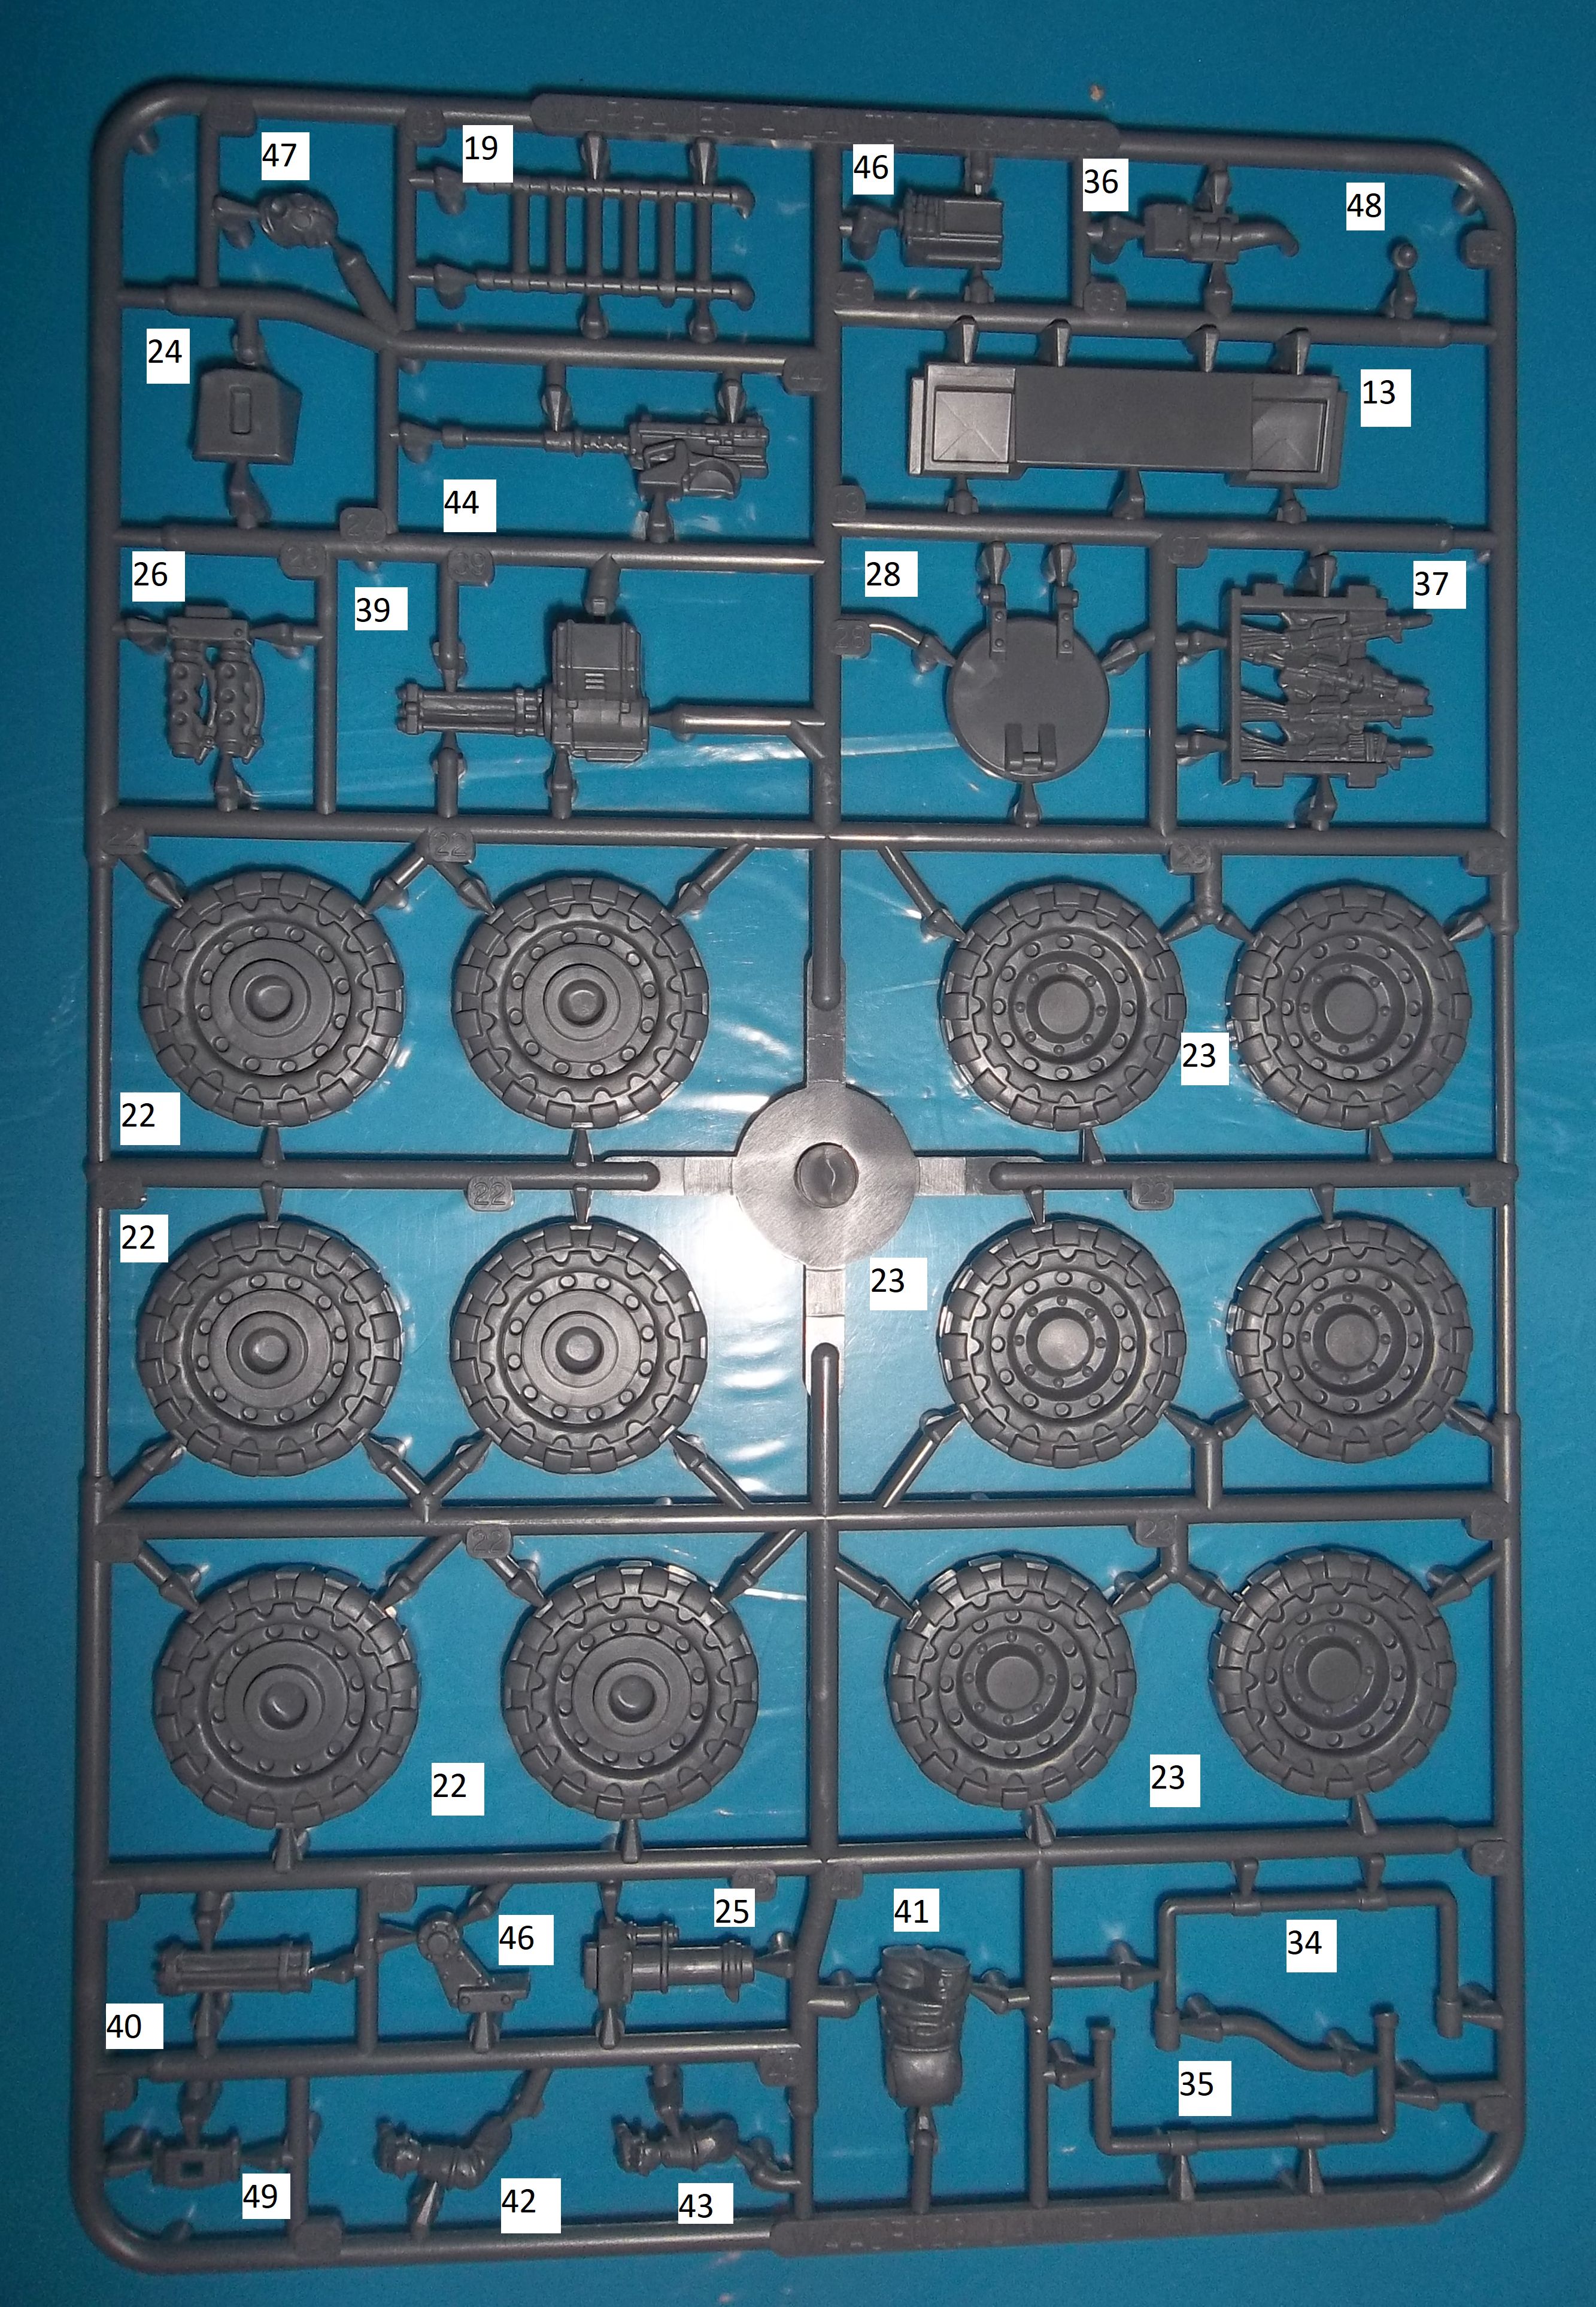
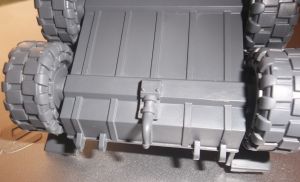
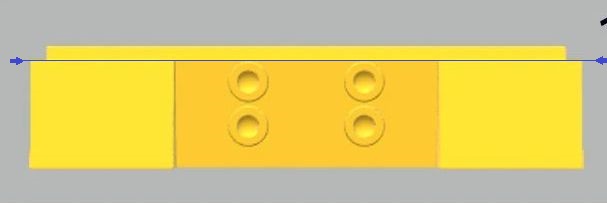
first build the wheels (part 22 & 23), make sure to line up the tread blocks as shown below for the best appearance. (if they don't look right just rotate one of the wheel halves by 120 degrees and check again)

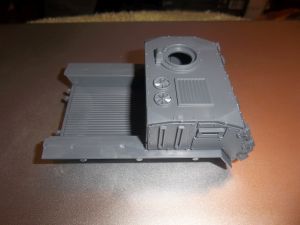
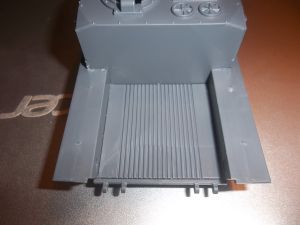
next build the main hull (1, 2, 3 & 4), make sure you trim or file down all the sprue gates otherwise the model won't fit together correctly. Next add the exhausts (29 & 30) on the side of the cab.
If you plan to build the Closed Cab, Pickup or Three Way Swappable add the rear floor (7), there's a peg and slot to show which way round this goes in
Note if you're building the Weapon Platform don't fit the rear floor (7)
Now add the drivers (8) and gunners (27) vision sections onto the front of the cab. Fit the bumper bars over the drivers section, the upper bar (34) fits into the holes in the cab, the two short rods (33) fit into the sockets on the underside the upper bar, then the lower bar (35) is added to the rods, then glued to the hull below the two pegs on the cab
Optional seats (20 & 21) for the Closed Cab and Pickup can be fitted, make sure the seat leg flush with the edge of the seat is at the cab end as shown below on the upsidedown seat (or the closed cab section won't fit). Do not fit these if you want to build the Three Way Swapable Mauler

Optional tow hook (36) can be fitted if you're building the Closed Cab or Pickup Mauler. It should be left off if you're building the Weapon Platform or Three Way Swappable Mauler
There's a choice of dual flamer and a small canon/heavy machine gun/grenade launcher (it's your vehicle, you decide what it is) for the front of the cab. Alternatively you could cover fill the hole you fit the guns into (treat it as a sensor pod?), or not fit the mantlet and cover the whole area with a bit of plasticard (extra armour?) if you want a more civilian look
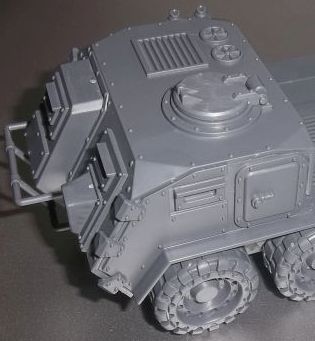
Closed Cab Mauler
Assemble the closed rear section. I found it easiest to glue the sides (5 & 6) onto the rear plate (9) placing them on the chassis to make sure they are alligned correctly, then glue on the roof section (10). If you plan to make the Three Way Swappable version make sure you don't glue the rear section onto the chassis.
Next add the two roof hatches (31 & 32), and the ramp (11) onto the rear section. (if you want to get fancy you could make the ramp workable by drilling through the hinges with a pin vise and adding a wire pin
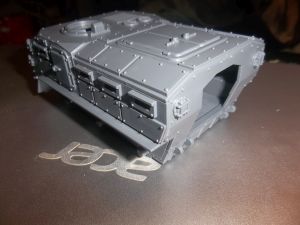
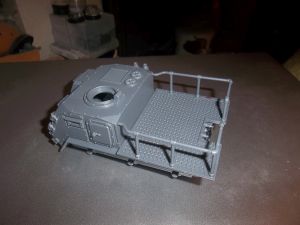
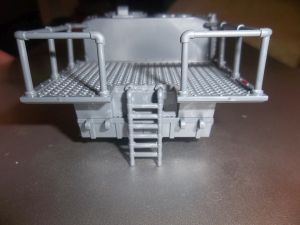
Weapon Platform Mauler
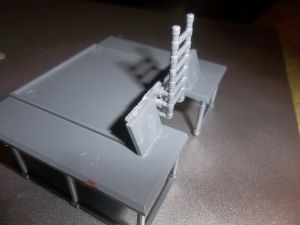
Fit the railings (15, 16, 17 & 18) to the weapon platform floor (14), next fit the ladder (19) to the ladder carrier (13) The two lower sets of pegs on the ladder fit into the sockets on the holder. Finally glue the ladder carrier and ladder to the underside of the weapon platform floor, the upper pegs on the ladder fit into the half sockets on the weapon platform edge so everything lines up correctly
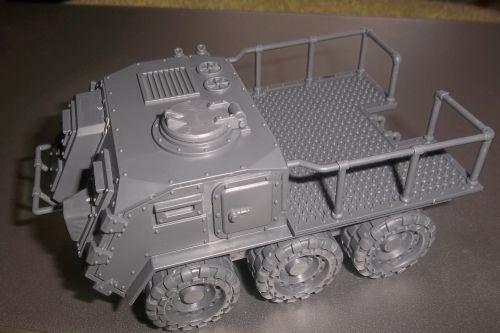
Pickup Mauler
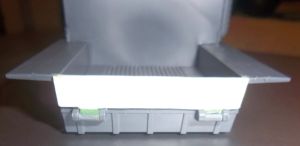
To build the pickup you'll need to create a tail gate. The simplest option is to cut a rectangle of plasticard approx 46.5mm x 10 mm and fit it to close the rear of the bed (i've used 1mm thick plasticard as it's what i have available)
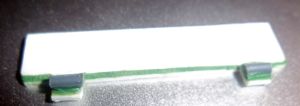
If you want to get fancy then cut a second piece of plasticard as shown below and glue it onto the first rectangle, and glue two 4mm sections of plastic rod (the side of the sprue where the wheels were attached will give you this) to represent the the hinge
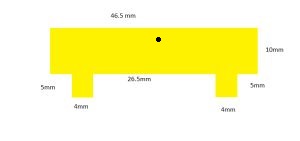
you can also add a latch/lock, I drilled a small hole part way through the tailgate indicated by the dot above, but you could equally well glue something on instead
Three Way Swappable Mauler
To build this version you need to trim the ladder carrier (13) as shown, cut along the blue line. Make multiple shallow cuts with a craft knife, and I recommend using a straight edge like a metal ruler too (the plastic is too thick to cut in one), or use a fine modelling saw. (Trimming off this plastic means you can put the weapons platform on the chassis with the rear floor installed, allowing you to swap between closed cab, pickup and weapon platform)
You can then lift the closed rear cab, weapon platform or pickup tailgate on or off the chassis so you can run any of them in your army list without having to buy multiple kits
A couple more builds have been suggested
Open Top (like a soviet BTR152) thanks to Joseph Churchname from the WGA Legion facebook group
Build the Closed Cab version with the optional seats, but leave off the roof
4 wheeled variants thanks to Kid Kyoto on the Dakkadakka forum
For a different looks you could remove the center wheels. Cut off the peg from the hull side with a hobby saw, or carefully shave it off in pieces with a hobby knife (the peg is too thick to cut in one go with a hobby knife, if you try the blade is likely to break so dont do it)
Roof Gunner etc
If you don't plan to have a roof gunner glue the hatch (28) closed, otherwise glue it open (if you're building the Three Way Swappable Mauler put it at an angle to make fitting the cab easier
Glue the gas mask filter (48) to the head (47). Then glue the head onto the body (41). The body is placed into a socket (38) that fits in the hatch on the cab roof
You can build a mini-gun (39 & 40) and a light machine gun (45 & 45). There is a separate trigger handle (49), the other trigger handle is split in half and held by the two gunner arms (42 & 43)
If you plan to have the gunner always fitted I suggest gluing the weapon stand (46) onto the edge of the hatch, then attaching your weapon of choice onto it. If you want to be able to remove the gunner, dont' glue the weapon stand onto the cab, this makes it all more fiddly but is possible
Then in one step glue the two arms together at the weapon handles, glue the arms to the torso (resting in but not yet glued into the socket), and glue the trigger handle being held by the arms onto the back of the gun. While the glue is not yet set you should be able to get these parts aligned. Finally add some glue to the socket to hold the torso in place.
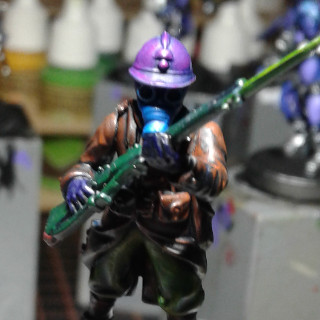
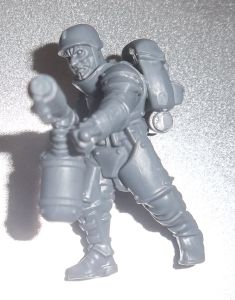
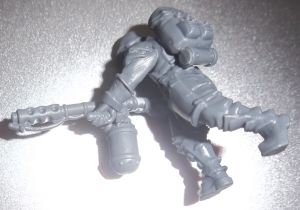
Heavy Infantry
The sprue builds 6 troopers all equipped with a Dual Las Gun. These require a right arm holding the gun, a left arm a power cable and a back pack (there is only one of these on the main sprue but you should also have a tiny sprue of 6). The cable plugs into the gun and backpack.
Dual Las Gun are held in both hands D1/2/3, E1/2/3, G1/2/3, J1/2/3, L1/2/F2 (note the mislabelled part number),
One Dual Las Gun is held only in the right hand K1/2, pair it with the left arm between E2 and J2 on the sprue (or a left arm from somewhere else), you can also add the spiked shoulder pad to this arm since it doesn't have one perhaps to mark out a troop leader?
I found it easiest to glue on the right and left arms which only sit right in fairly fixed position, then glue on the backpack and the cable and adjust the positions of these two to get things to line up properly.
Because of the fixed arm positions don't glue on pouches etc until the end or you may find they get in the way
Alternatively you can build troopers with a Grenade Launcher A1/2, Plasma Gun B1/2 (missing part of the B label), Melta Gun C1/2 and a Machine Gun I1/2
You can also build a Flame Thrower F1
(Edit: looking at the flamer on the normal infantry sprue that's being held with a left hand cupped under the barrel, so i'm guessing you can use one of the left arms designed for the Dual Las Guns with this, but i don't have an unbuild one to test it.)
I chose to use the unlabelled left arm holding a handle found directly above the D2 on the sprue can be use with the Flamer, there isn't an obvious connection for the handle here are a couple of photos showing how i arranged mine
If you find it hard to handle tiny bits glue the gas mask head onto small round filter on the while they're still on the sprue.
-
-
-
-
-
-
-
-
-
@OrlandotheTechnicoloured Well mine was a dry fit so you can take it with a grain of salt.
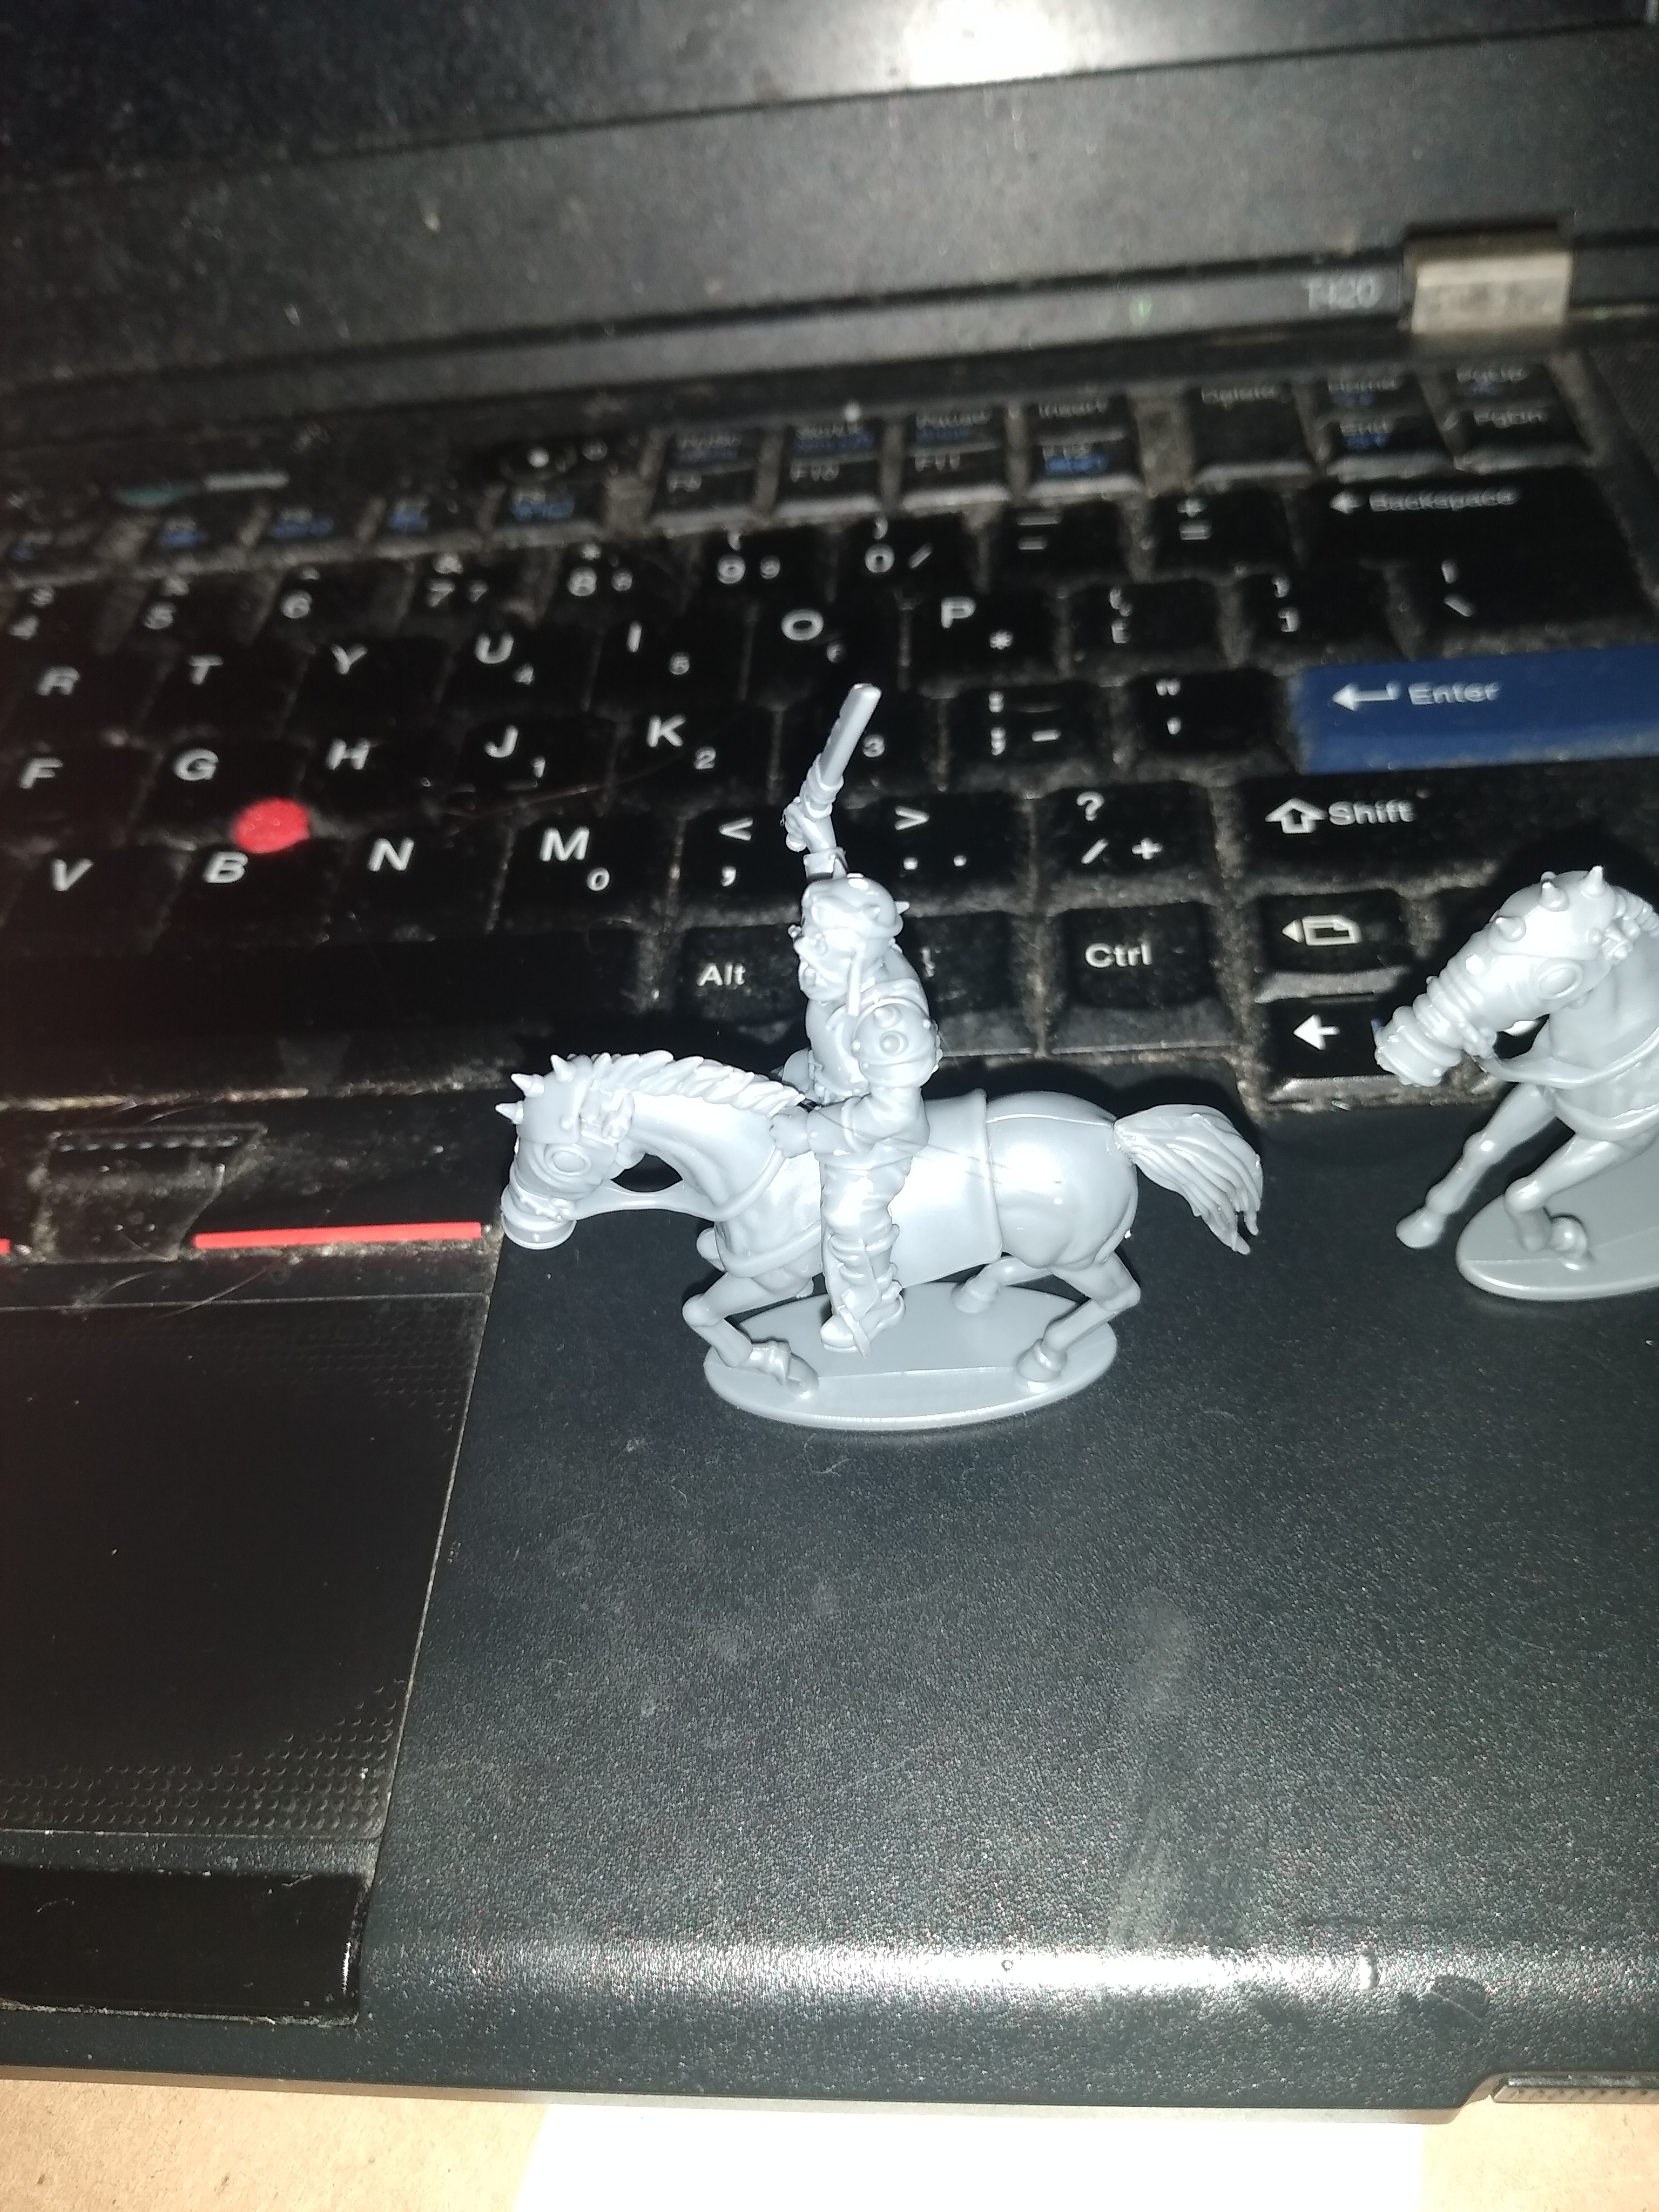
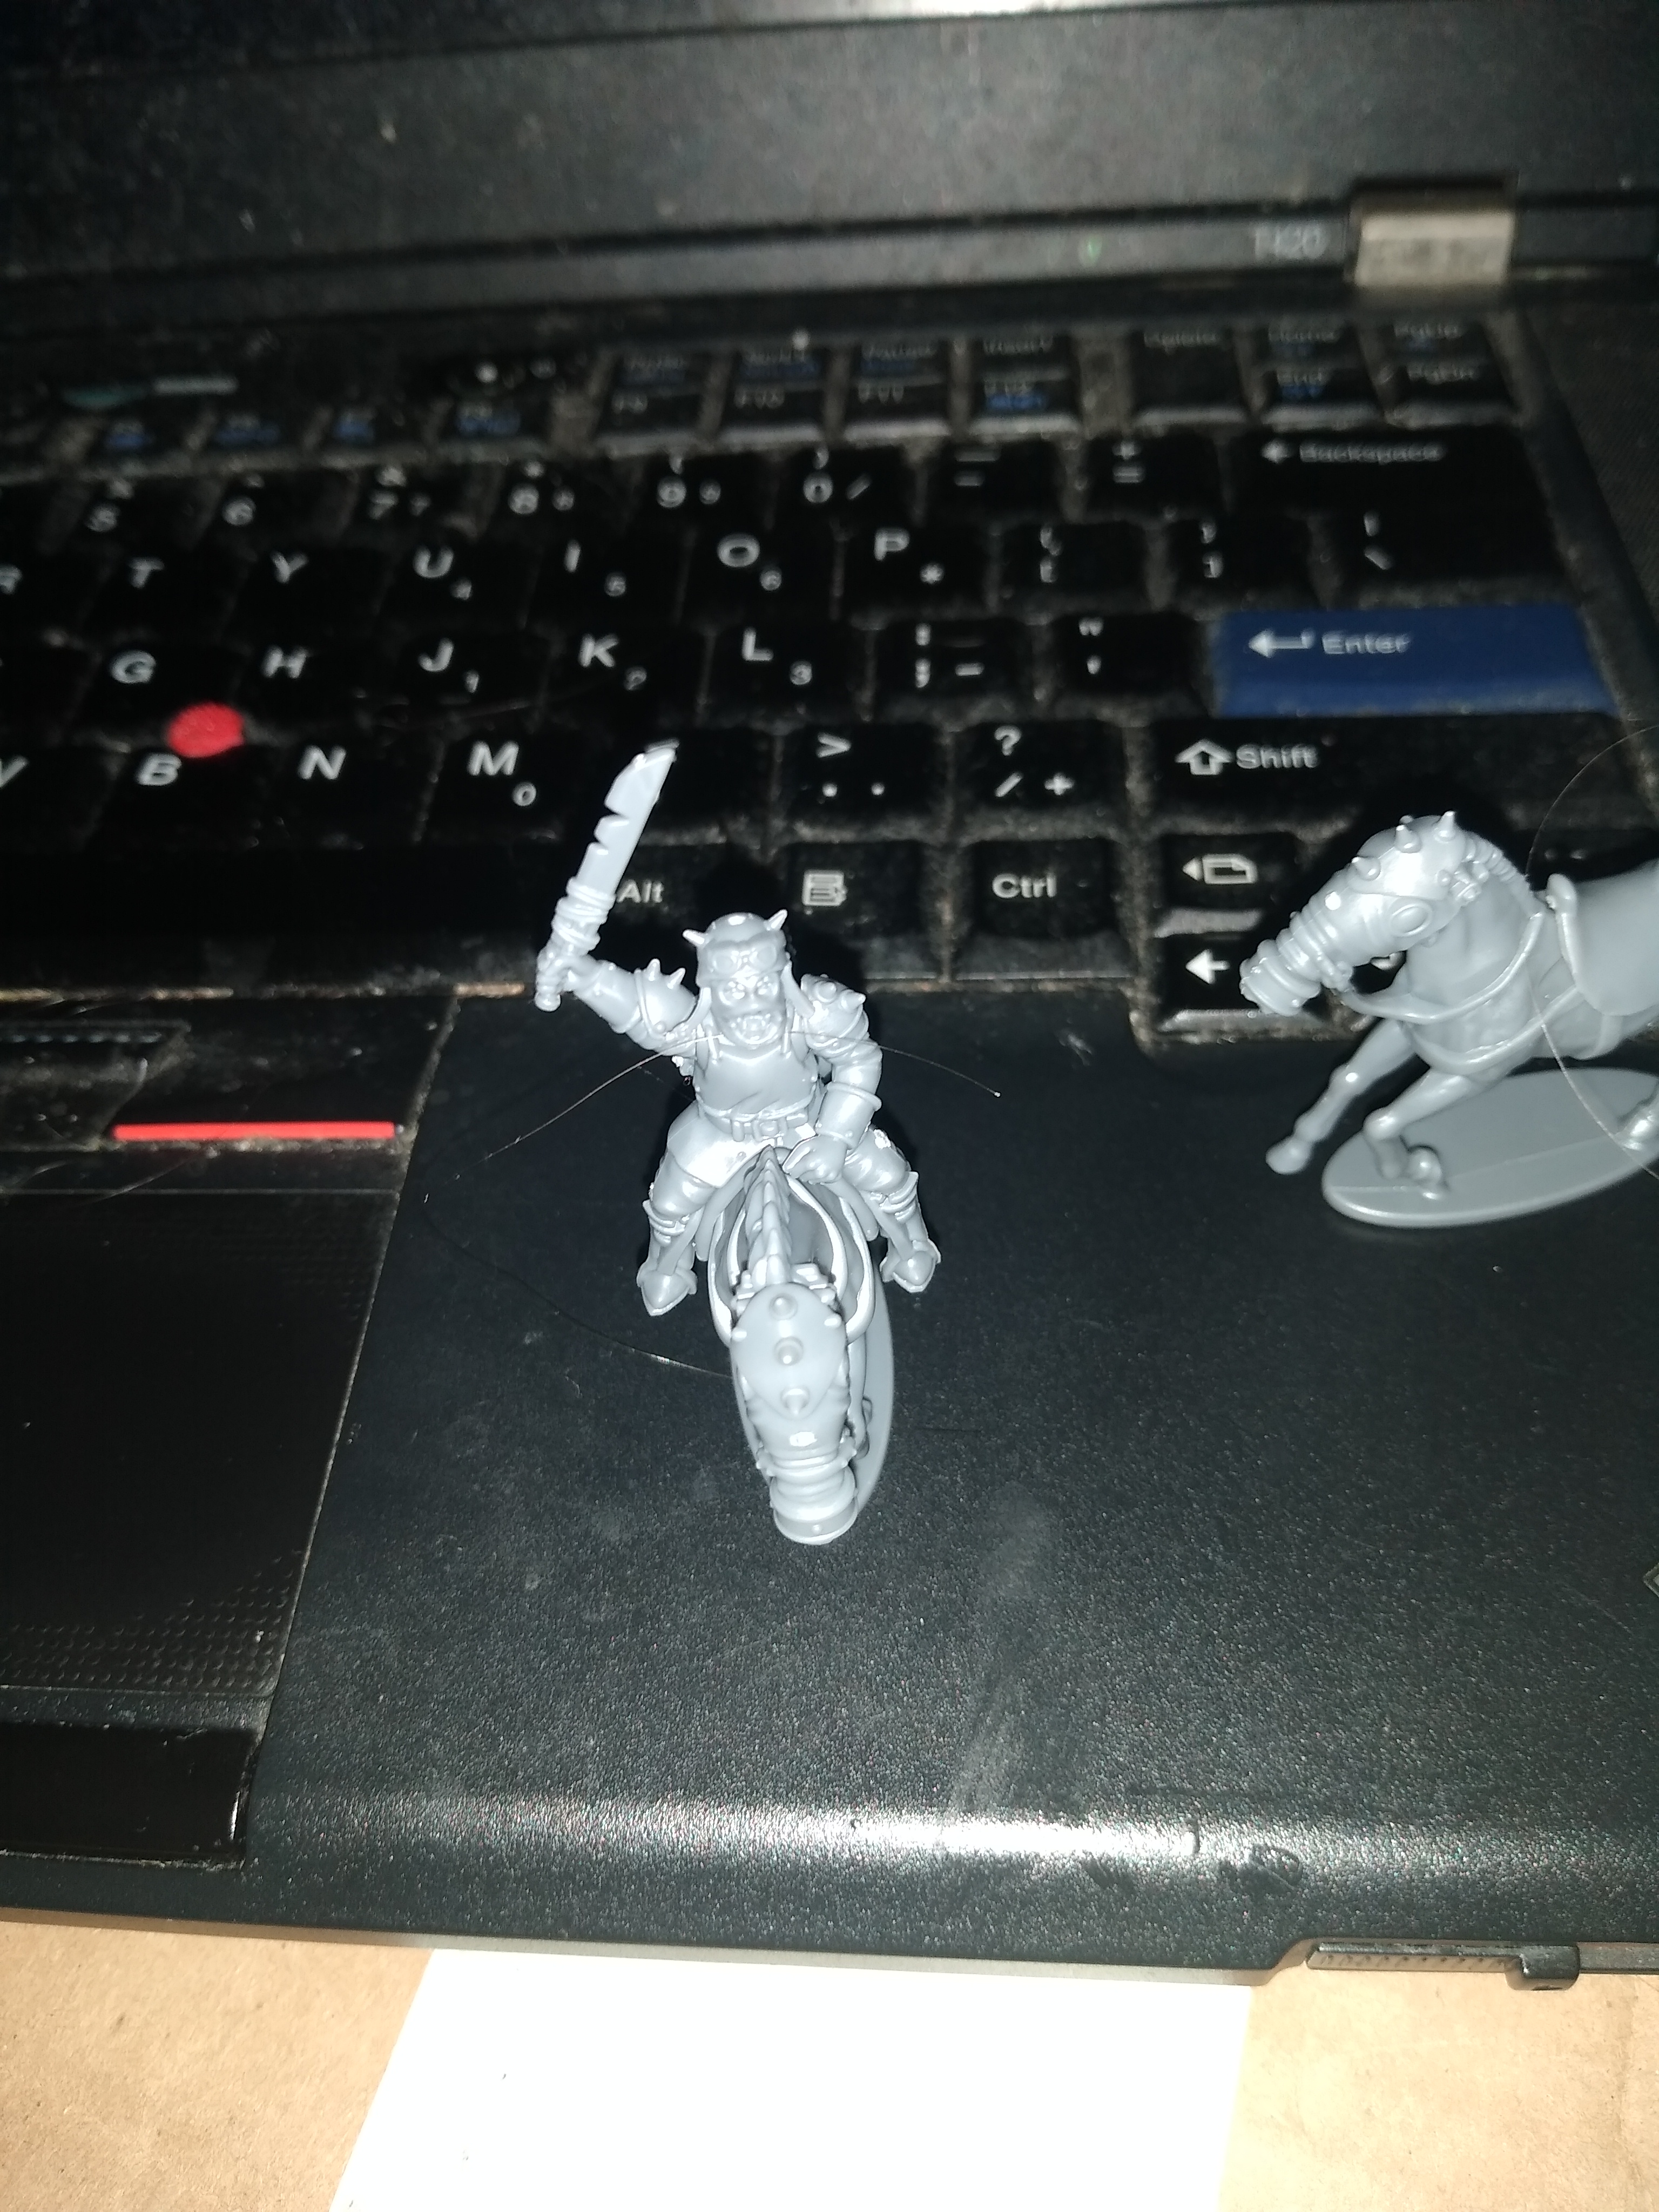
Edit: I suppose some people would find it a little too far up on the horse but it still works.
-
-
-