instructions
-
WGA needs to get serious about providing some basic INSTRUCTIONS for their sets. A month ago, Max McD replied to another req for instructions, saying he was working on that... if they've been created, they are well hidden. Obviously, when the sets are designed, the Designer has some idea how the parts should go together. Surely those design notes are saved somewhere! Some kits even have some parts labeled with part numbers. Come on, guys! How difficult can it be to put some notes into a PDF? Hire a summer intern with some graphic design training! This should be a required item on the Design Checklist before a set is released.
I know, many if not all of us, the customers of WGA, are kitbashers who are going to use those parts in our own way anyhow. But still, some clue of the Designer's intent for the various bits would really be helpful. Say a sprue has 6 torsoes, and 10 sets of arms. You know the Designer created arm pairs to go with a particular torso, or maybe 3 of the 6. Why keep that info a secret?
Currently I am trying to figure out The Damned Heavy Weapons sprue. We have 3 tripods, and 5 guns. OK so far. How do those shields go on? What's with the little saddle pieces? Where does that wiggly cable go?
Lacking any help from WGA, maybe we the Forum members should come up with our own plans. If you have some helpful ideas/photos/sketches, post them here.
I haven't even touched the Artillery sprue yet.
-
Hopefully they will include instructions on/in the retail boxes, but until instructions are available at least digitally, that will leave those who just got the sprues via the crowdfund project out in the cold.
I'm kinda looking forward to trying to figure it out, but I build dozens, maybe hundreds of scale models back in the '80s and '90s and have a pretty good feel for it, and enjoy that sort of thing anyway - not everyone has that background or enjoys that.
Still, I think some reference images from the updates might help a little, for seeing how most of the parts go together:
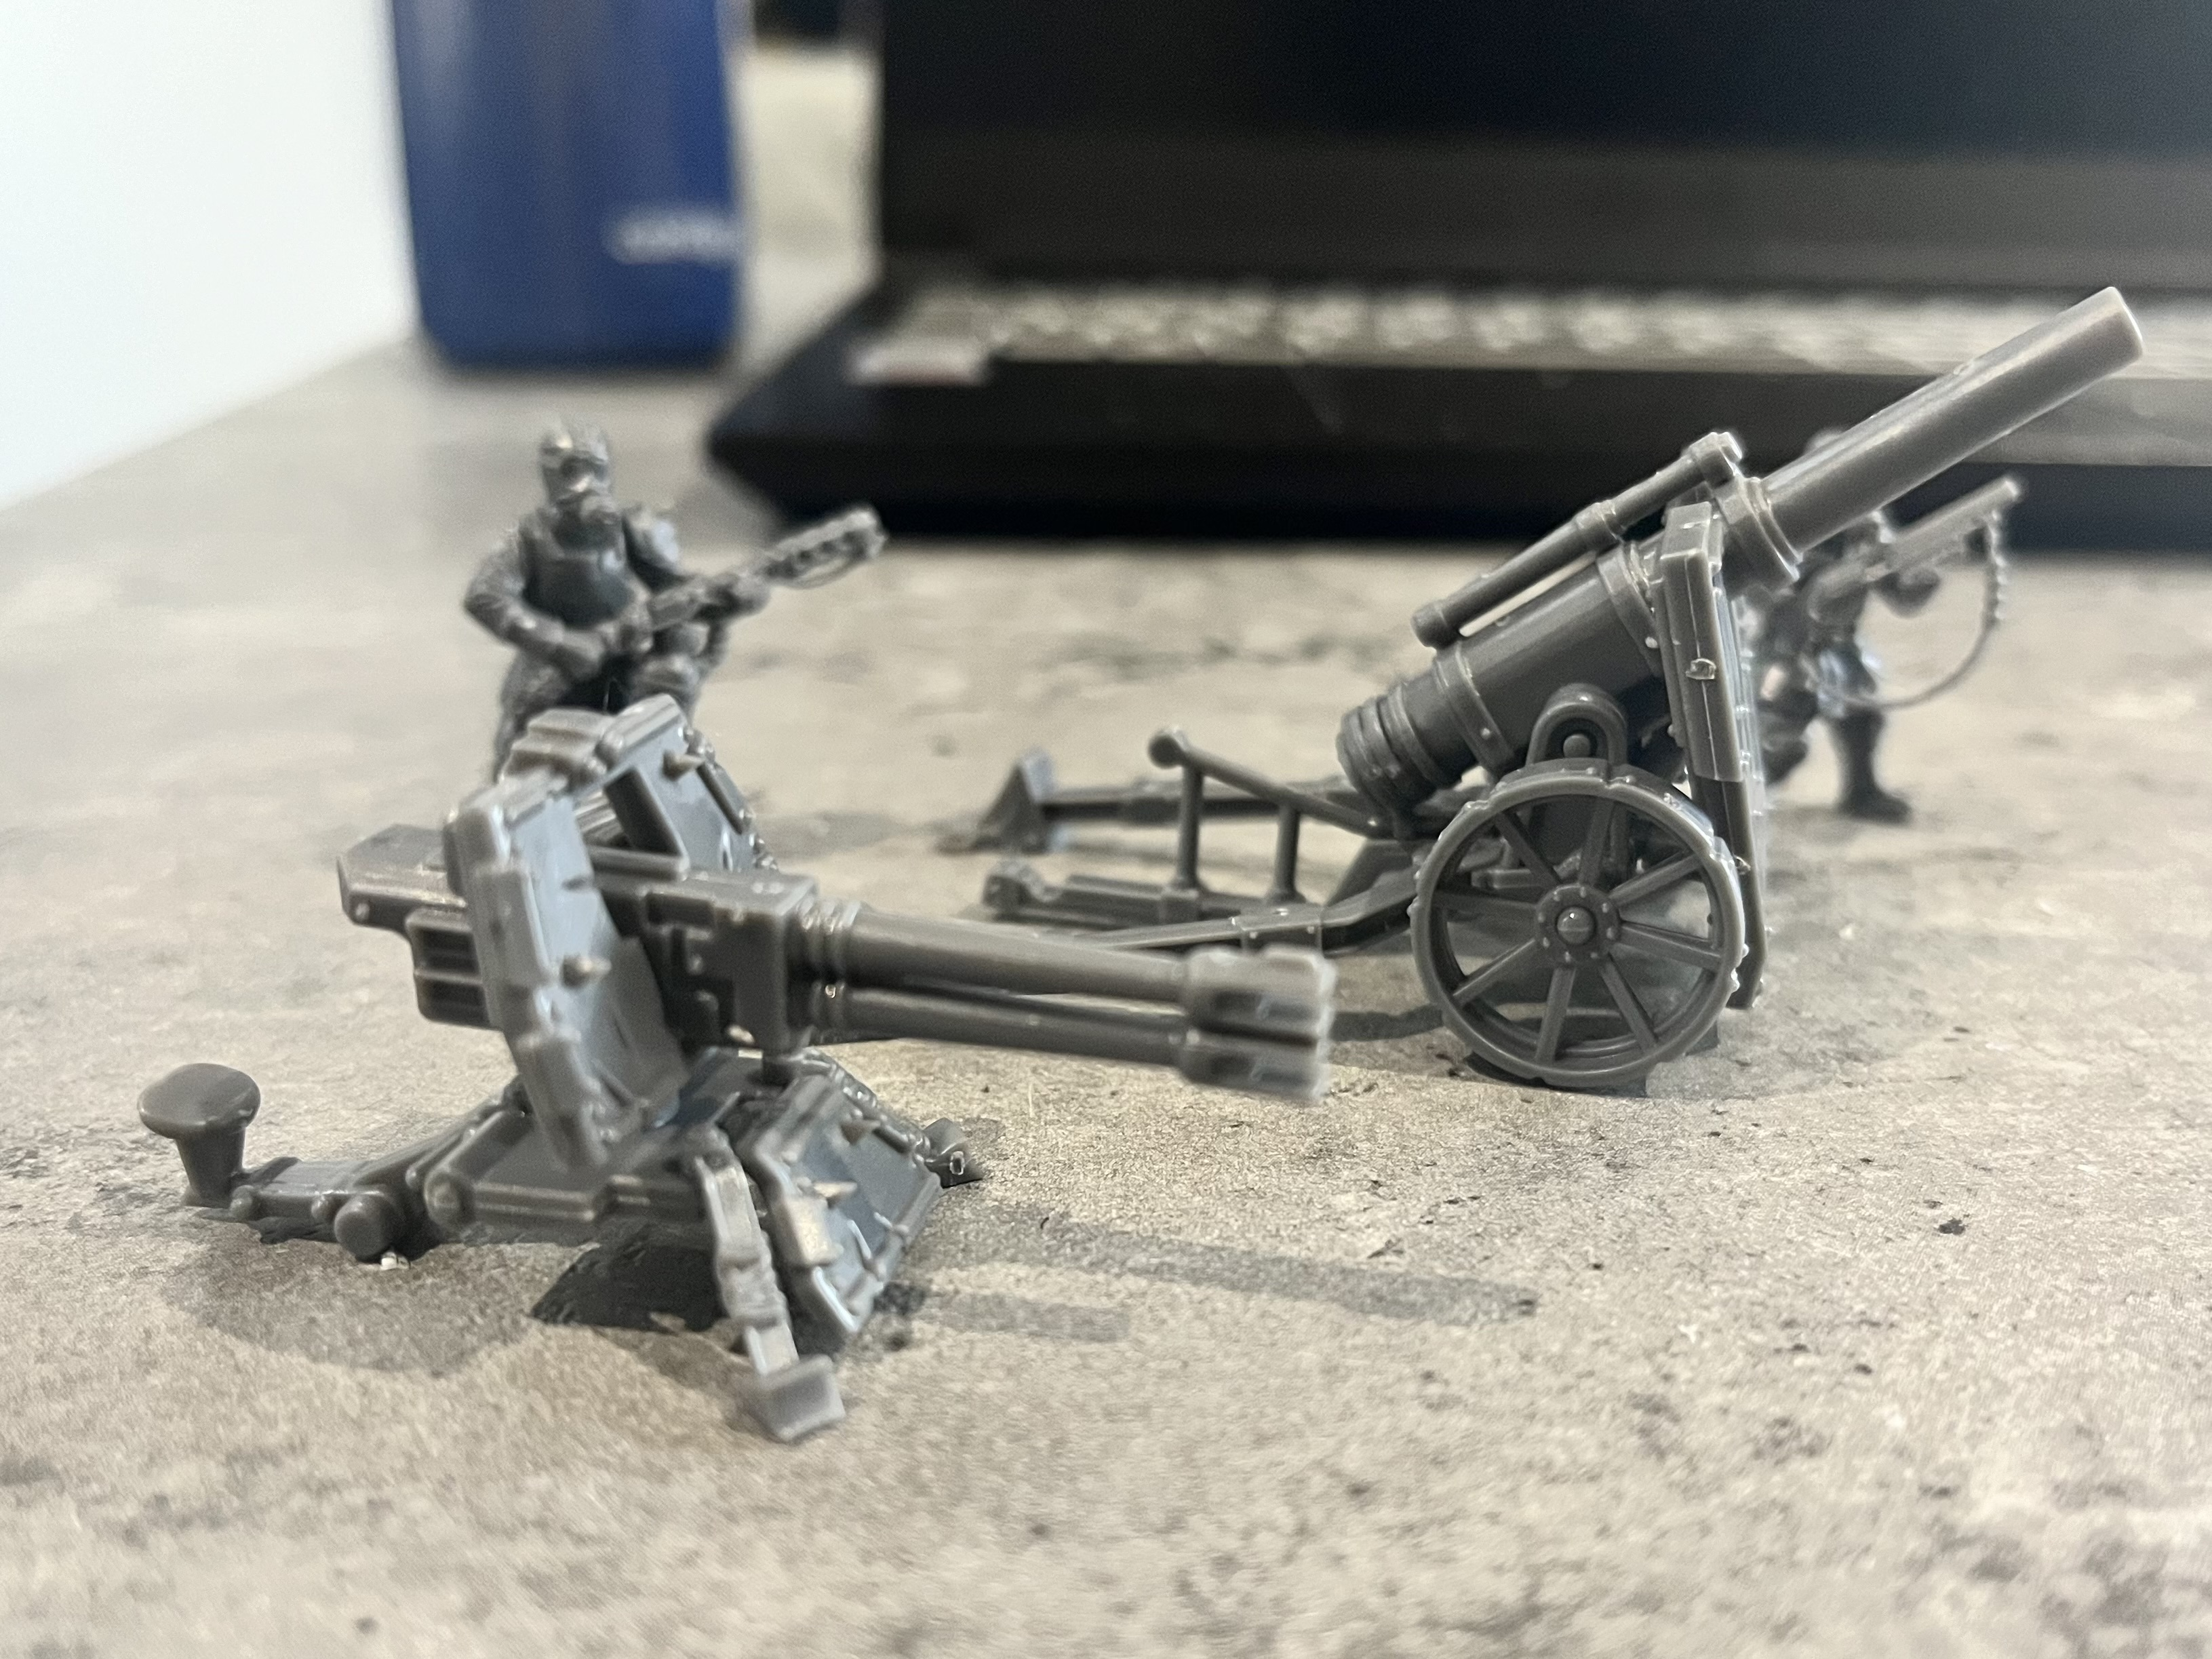
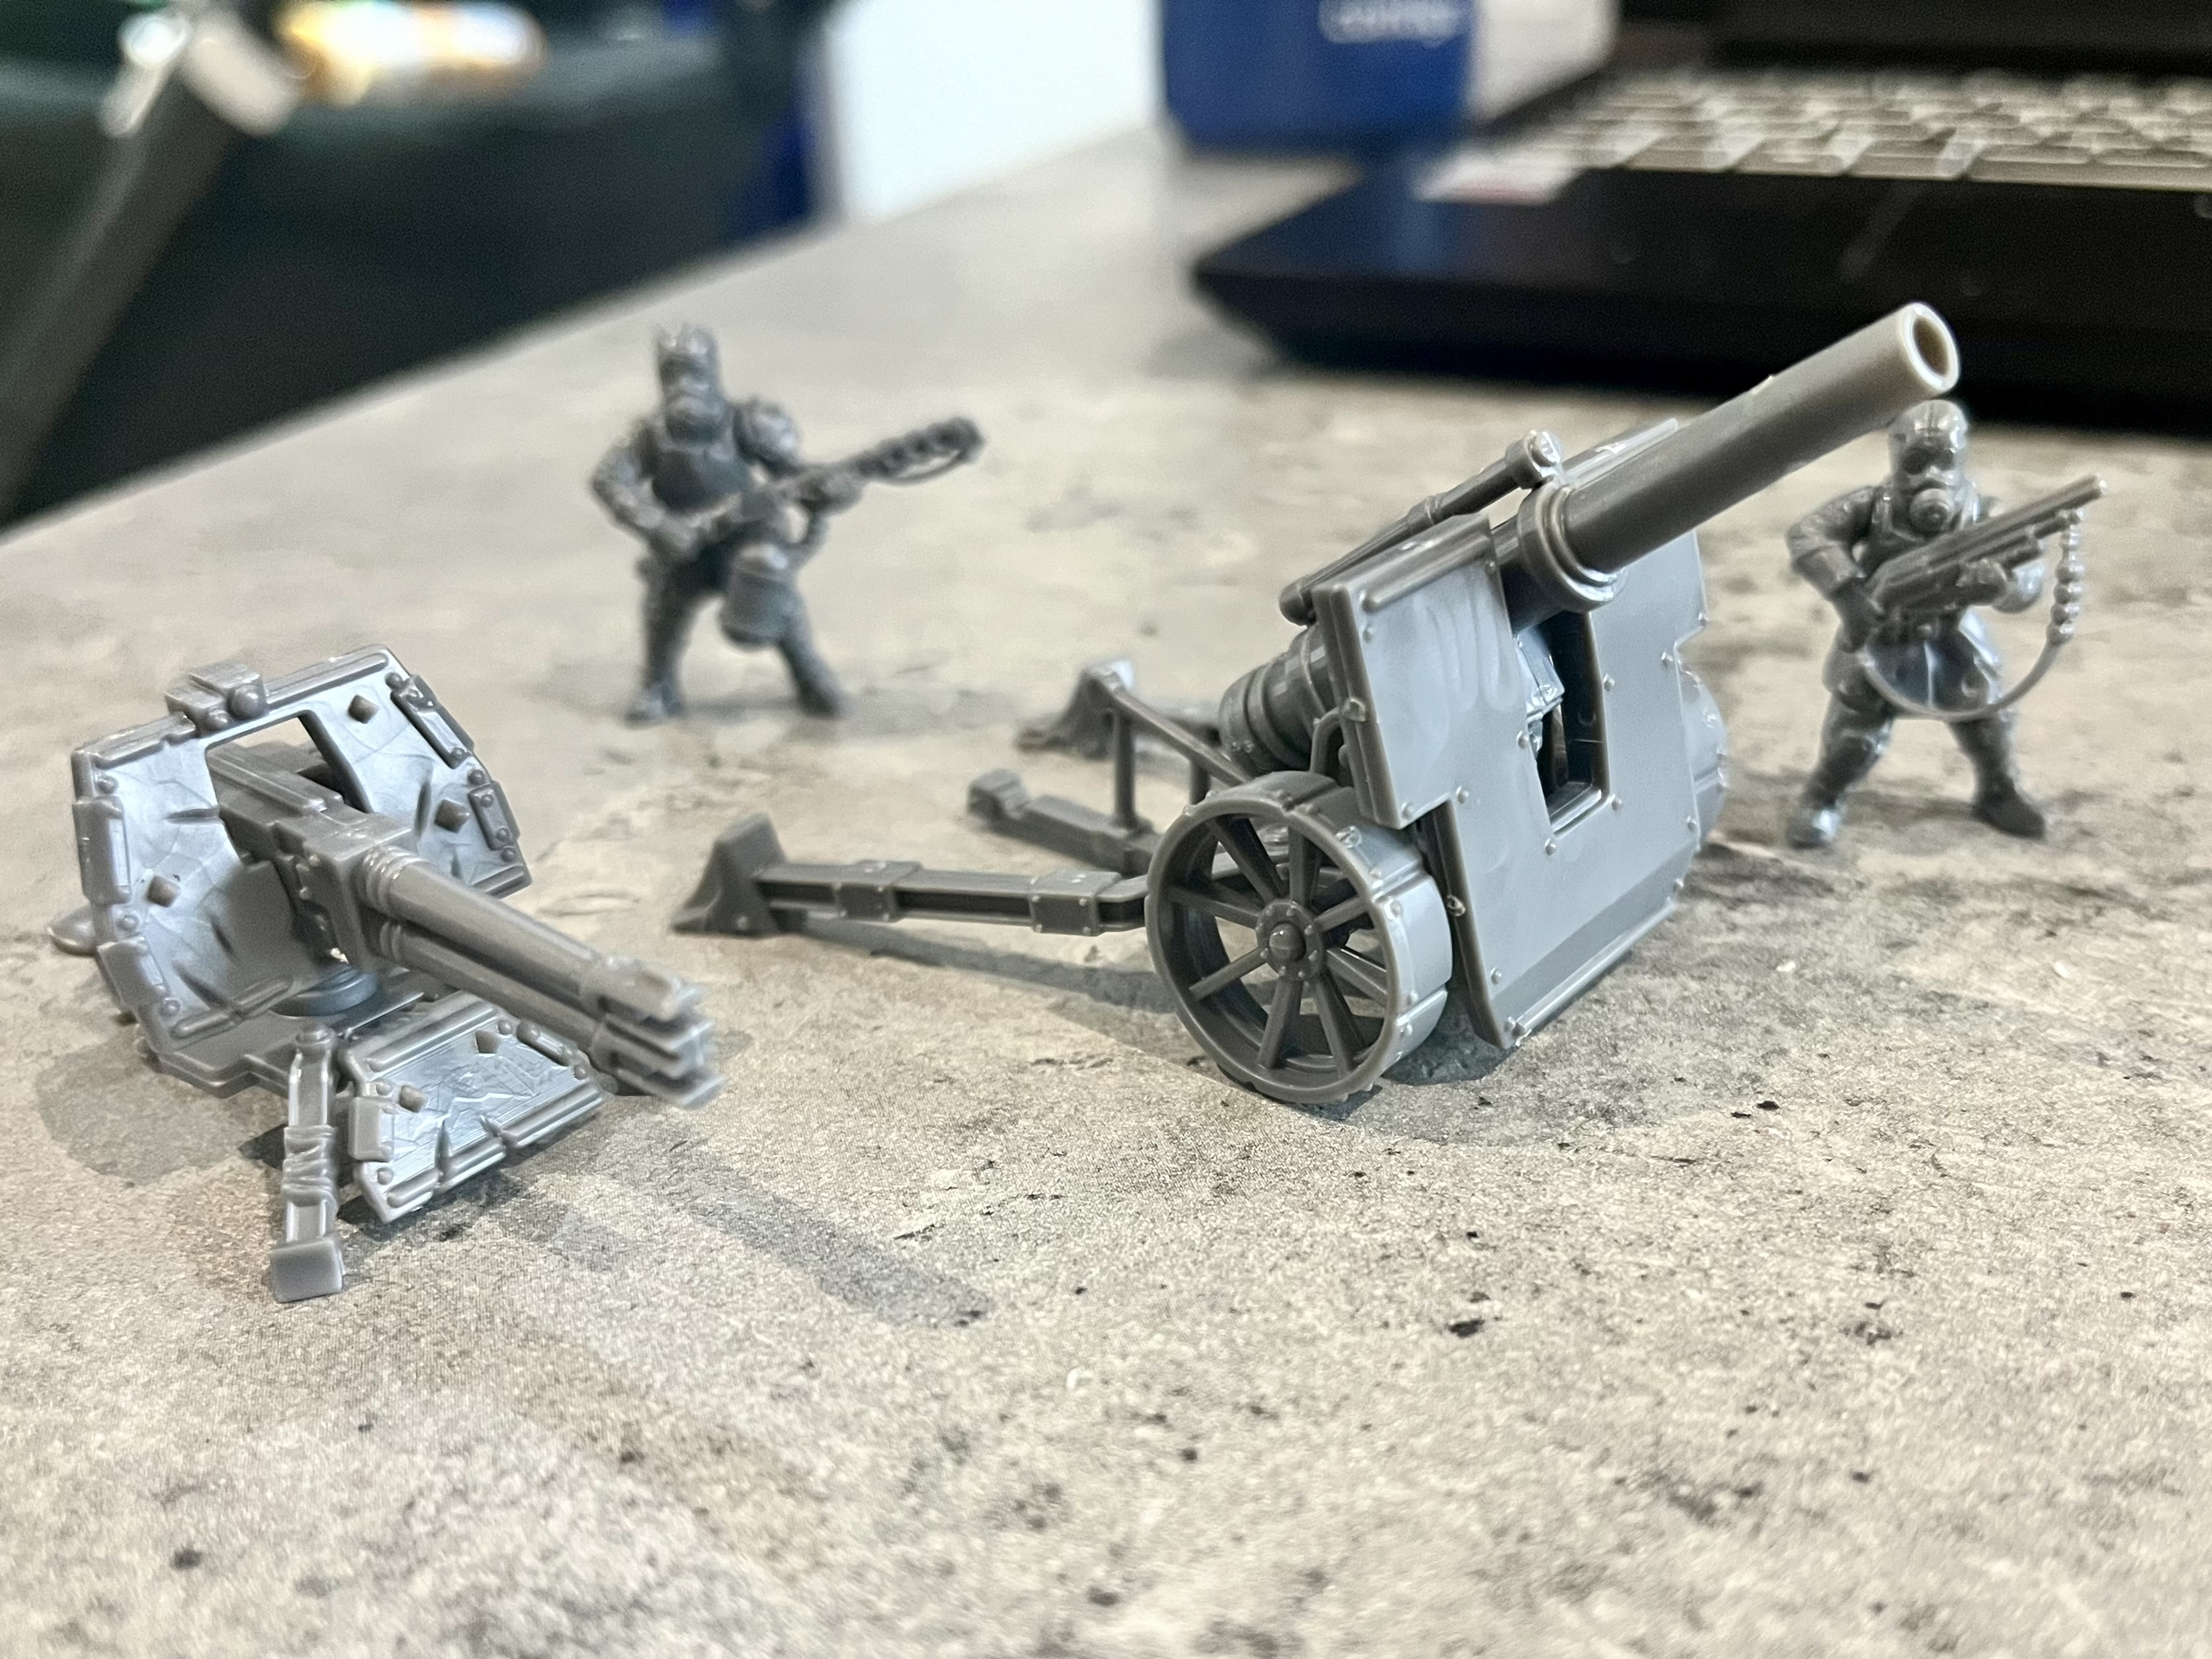
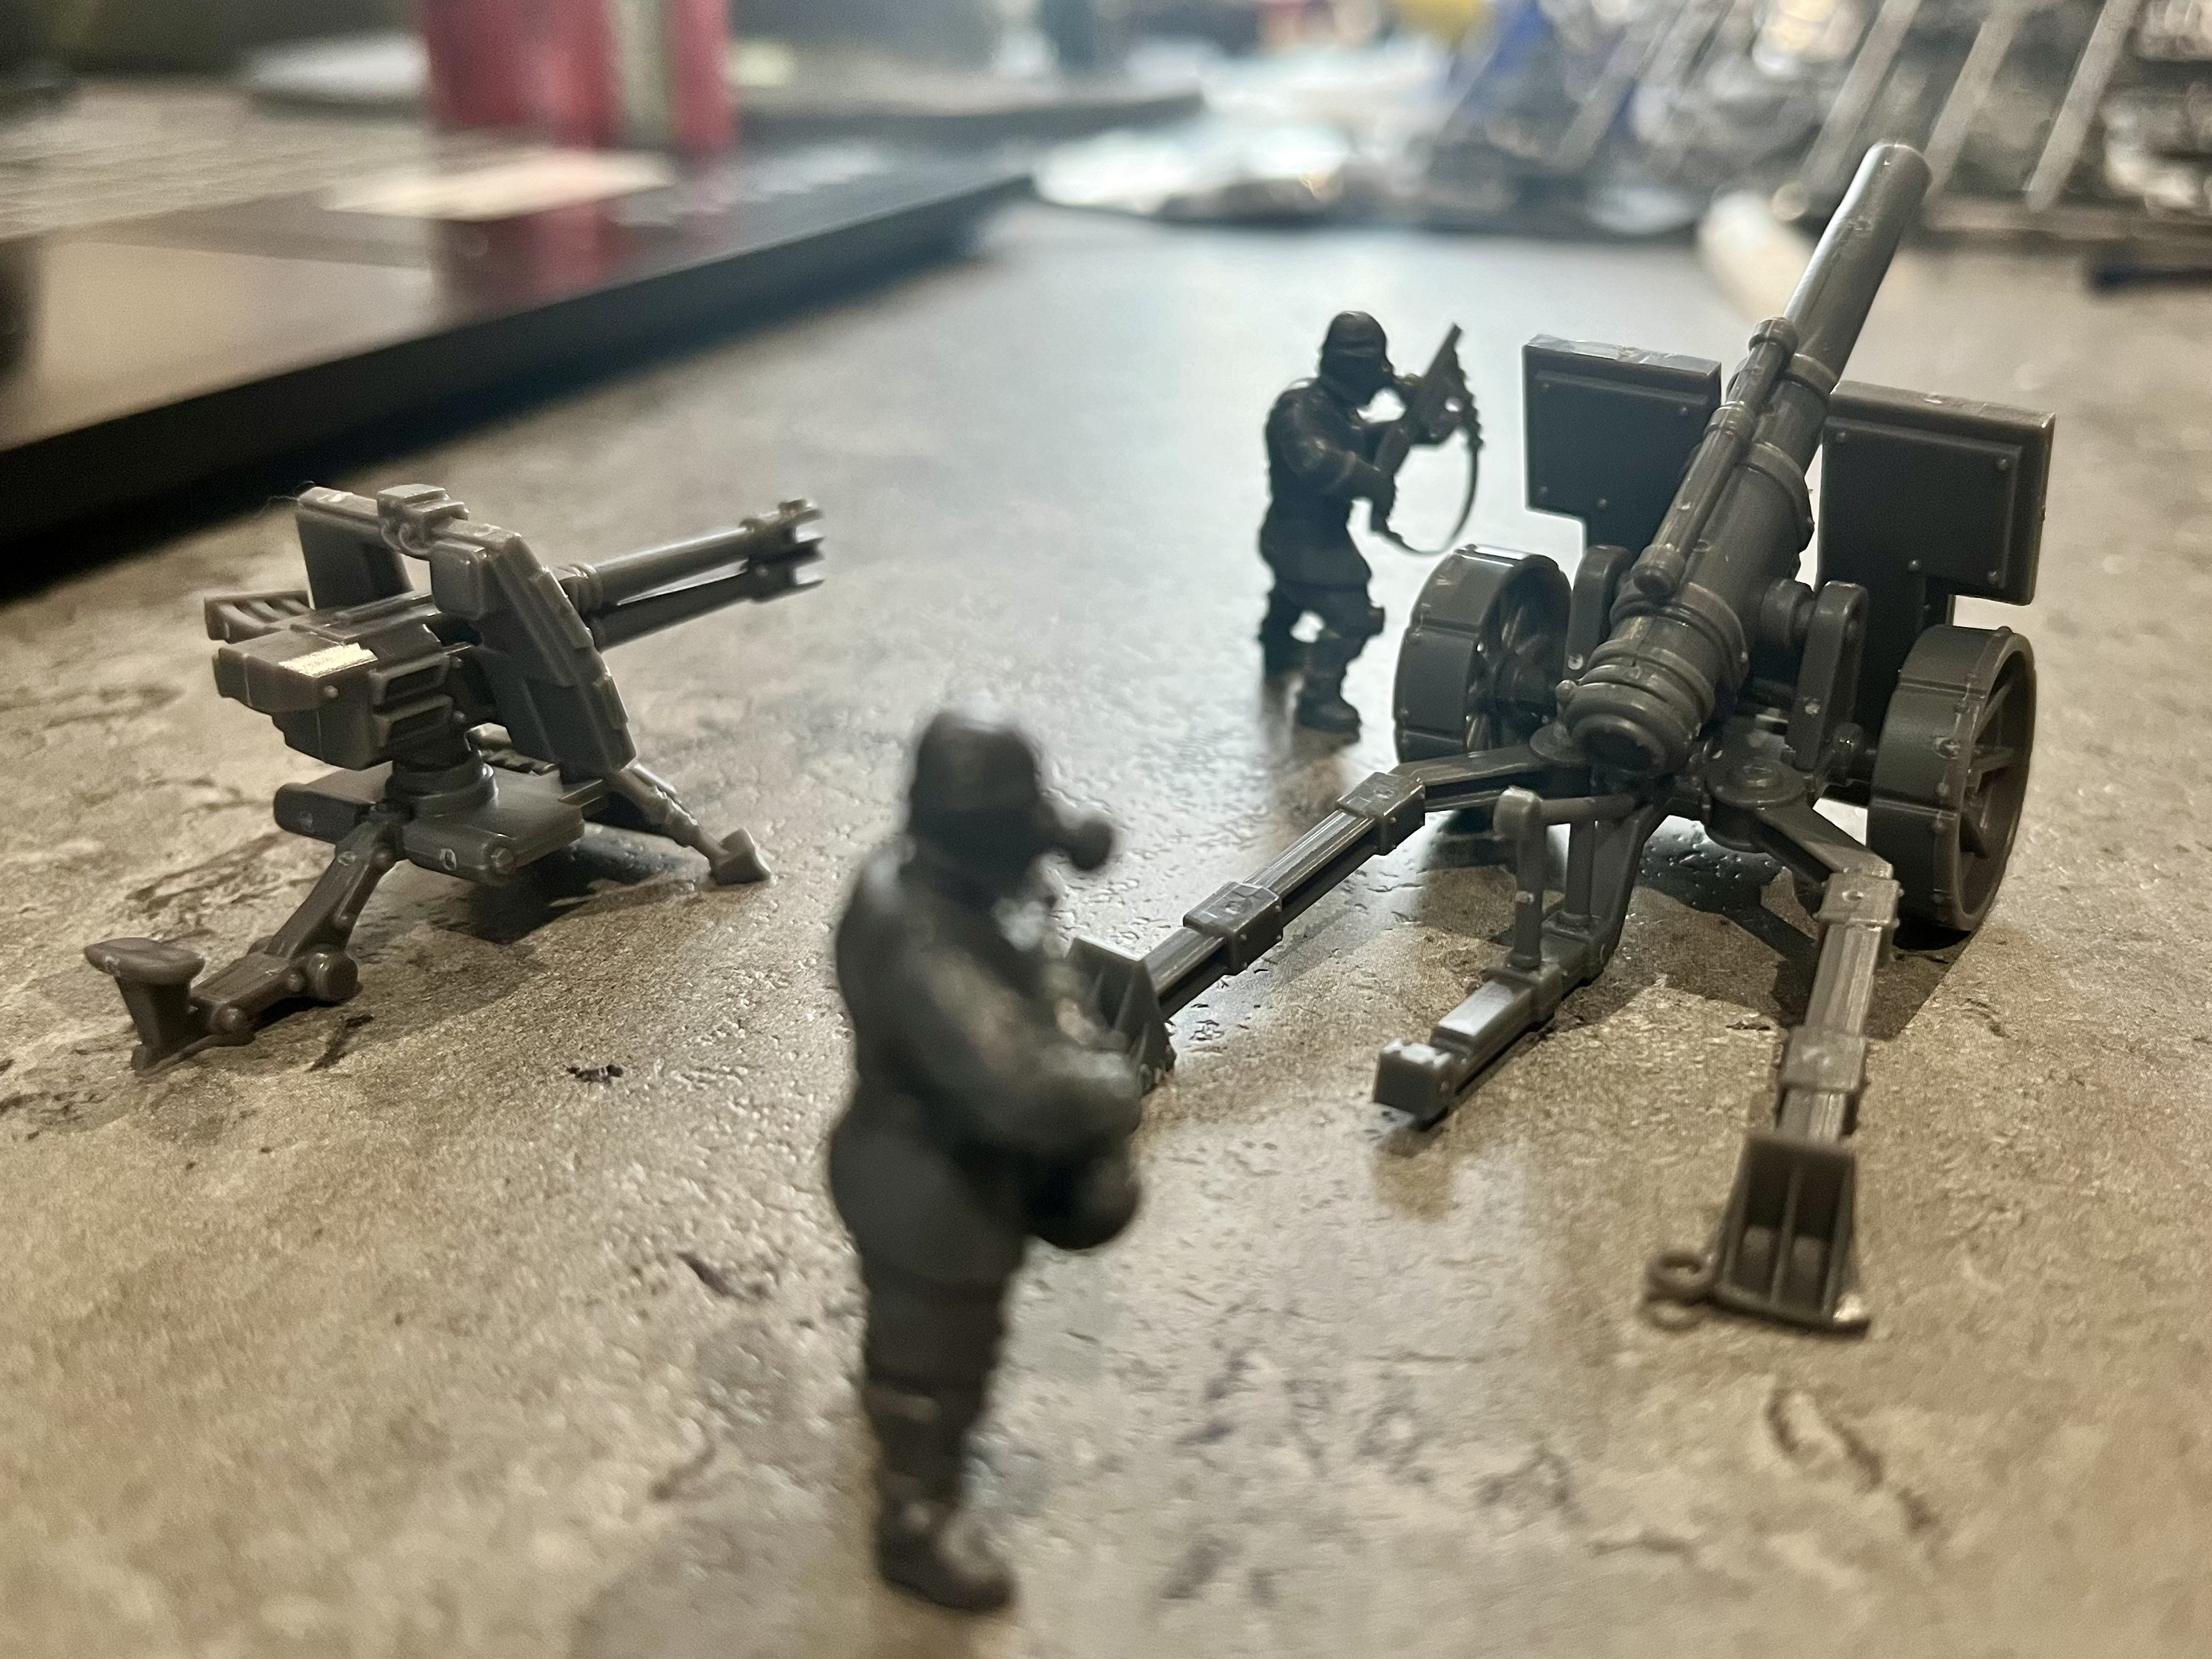
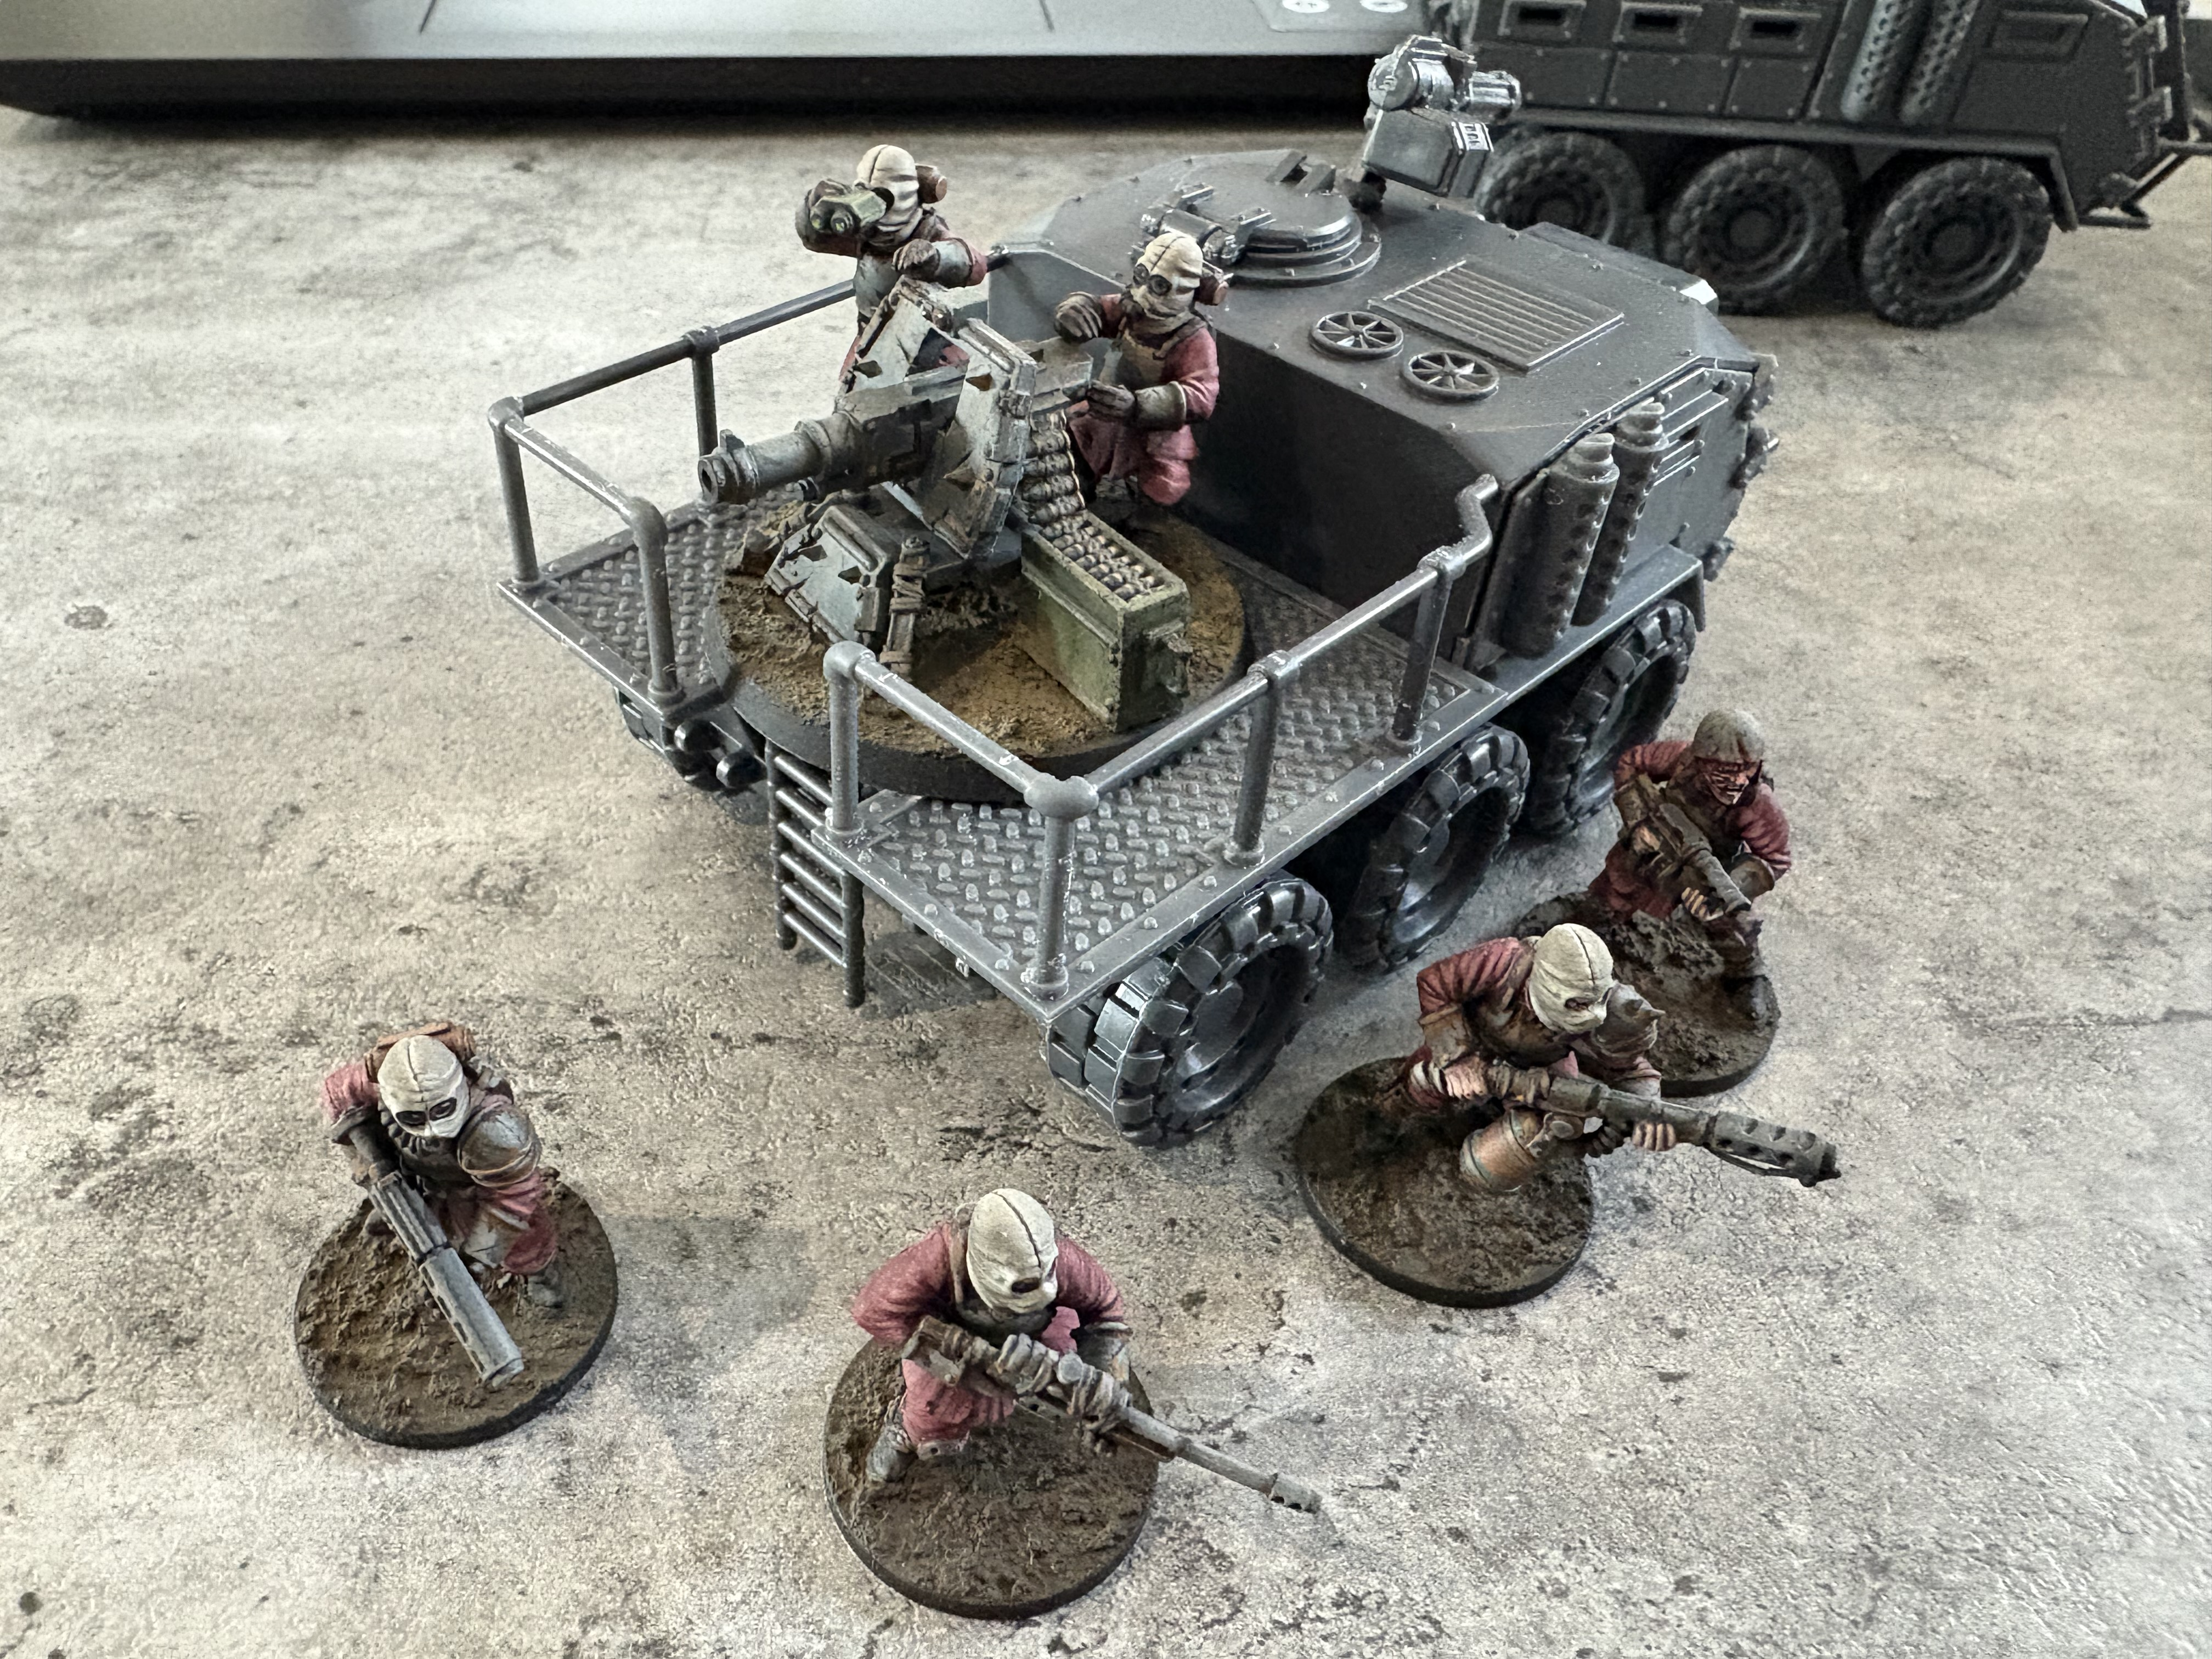
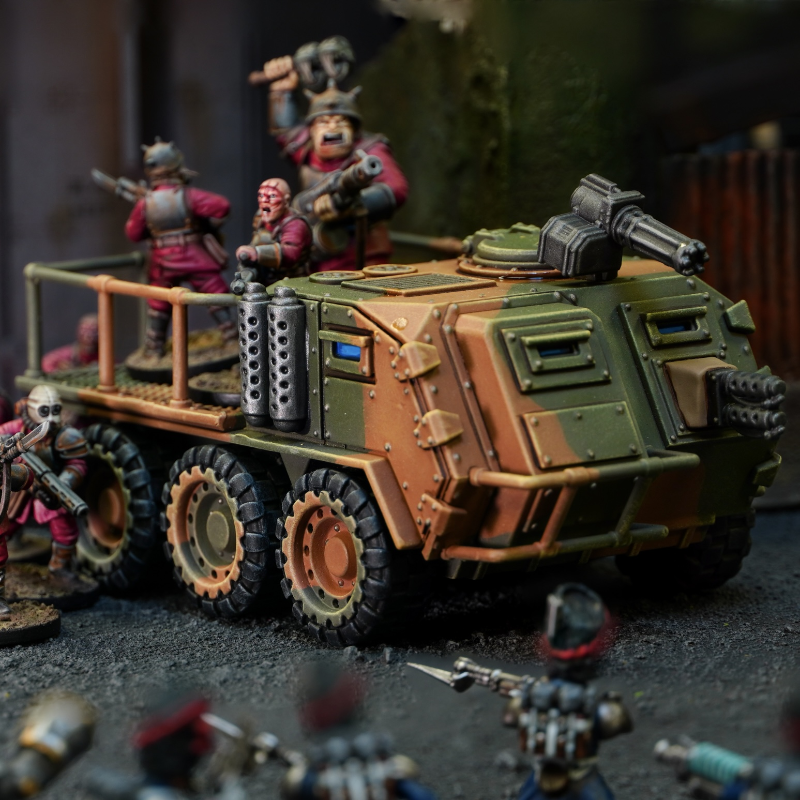
I didn't take the photos, I'm not in a position to start assembling anything to take close-up or in-progress photos of my own, and that is only a representative sample of the weapons from The Damned crowdfunder, but it's still a good start, since most of these weapons appear to be modular and are assembled in a pretty similar way, so figuring the examples out will go a long way to figuring out the rest of them.
The biggest mystery I can see from here would be how to fit the power cable to the power source and beam weapon: I THINK there was meant to be holes in the gun and power pack for the cable to plug into which were perhaps missed in production, since I didn't see anything obvious when I looked for how to connect them. We might need to drill our own small holes with a pin-vice, or trim the pegs off the cable and cement the flat surface directly to the gun and power pack, and in either case, be creative in exactly where we choose to make the connections, since there doesn't seem to be any obvious place for this. Or, maybe I missed something while the parts are still on the sprue that would become more obvious once the parts are separated and dry-fit.
Still, the reference photos are a start!
.
-

-
-
-
-
-
-